Preliminary remarks
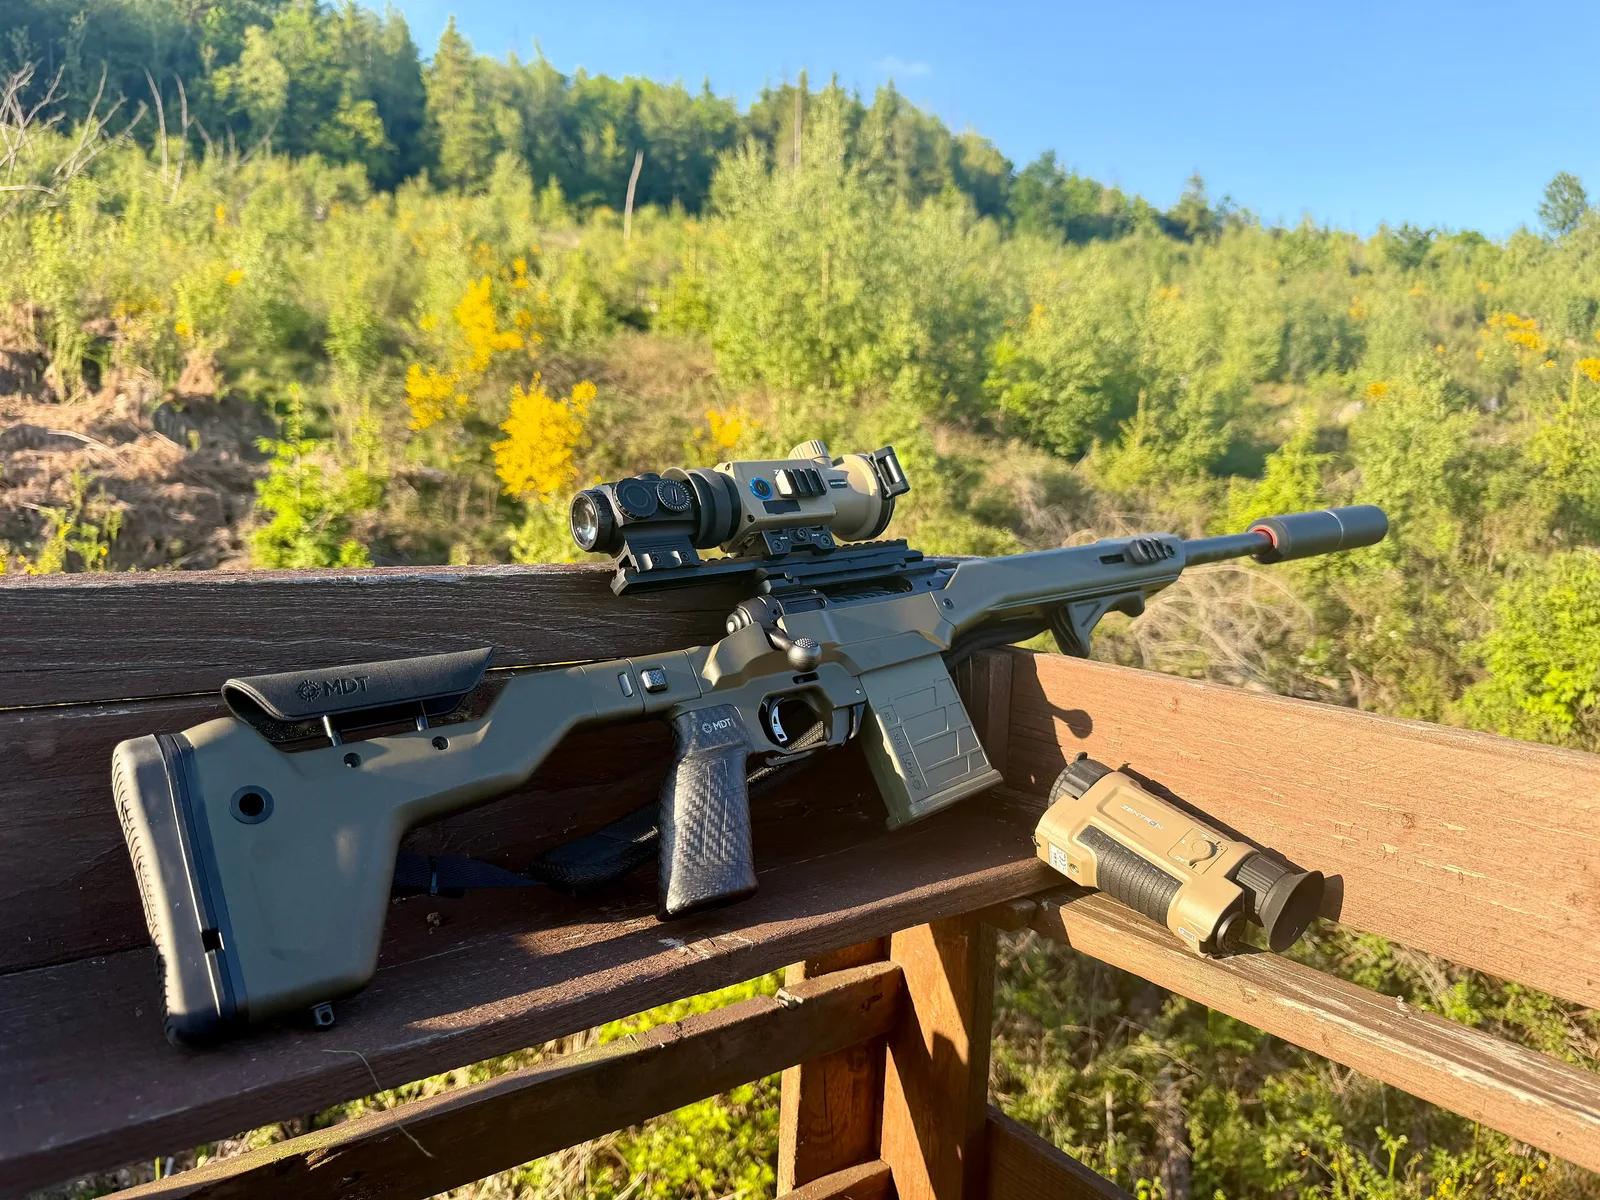
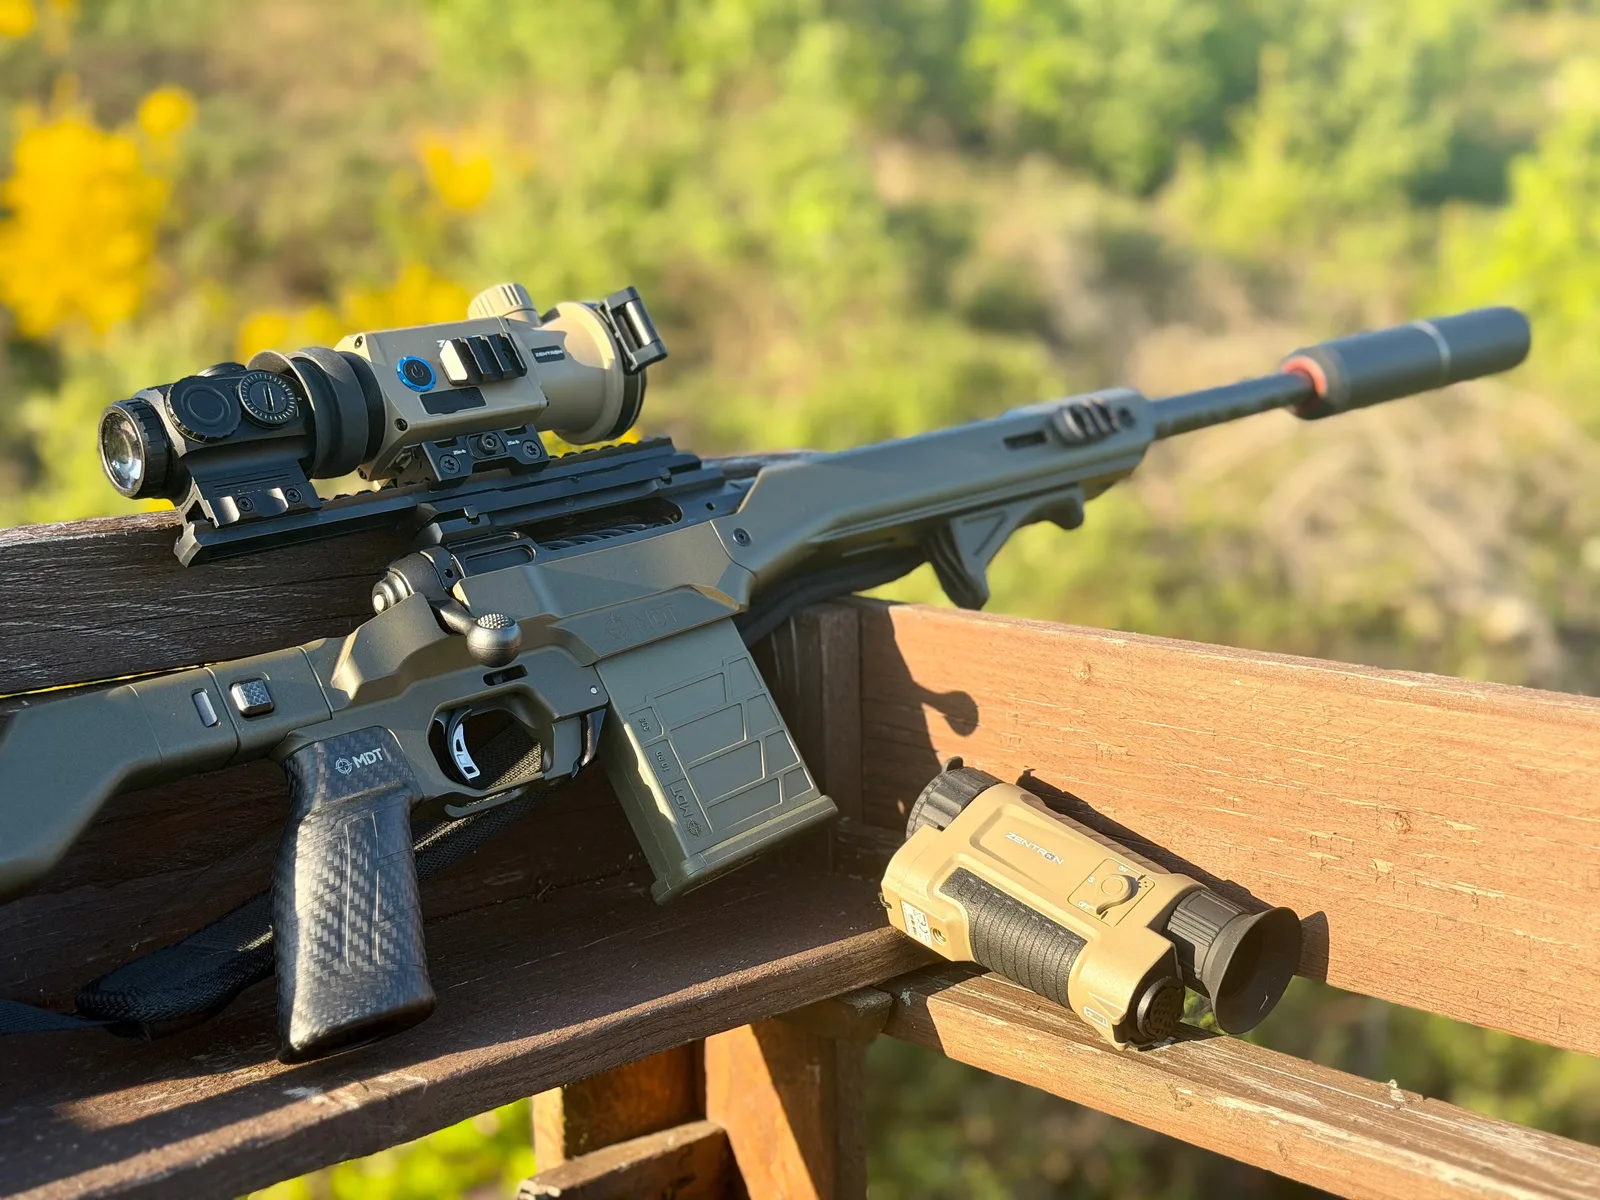
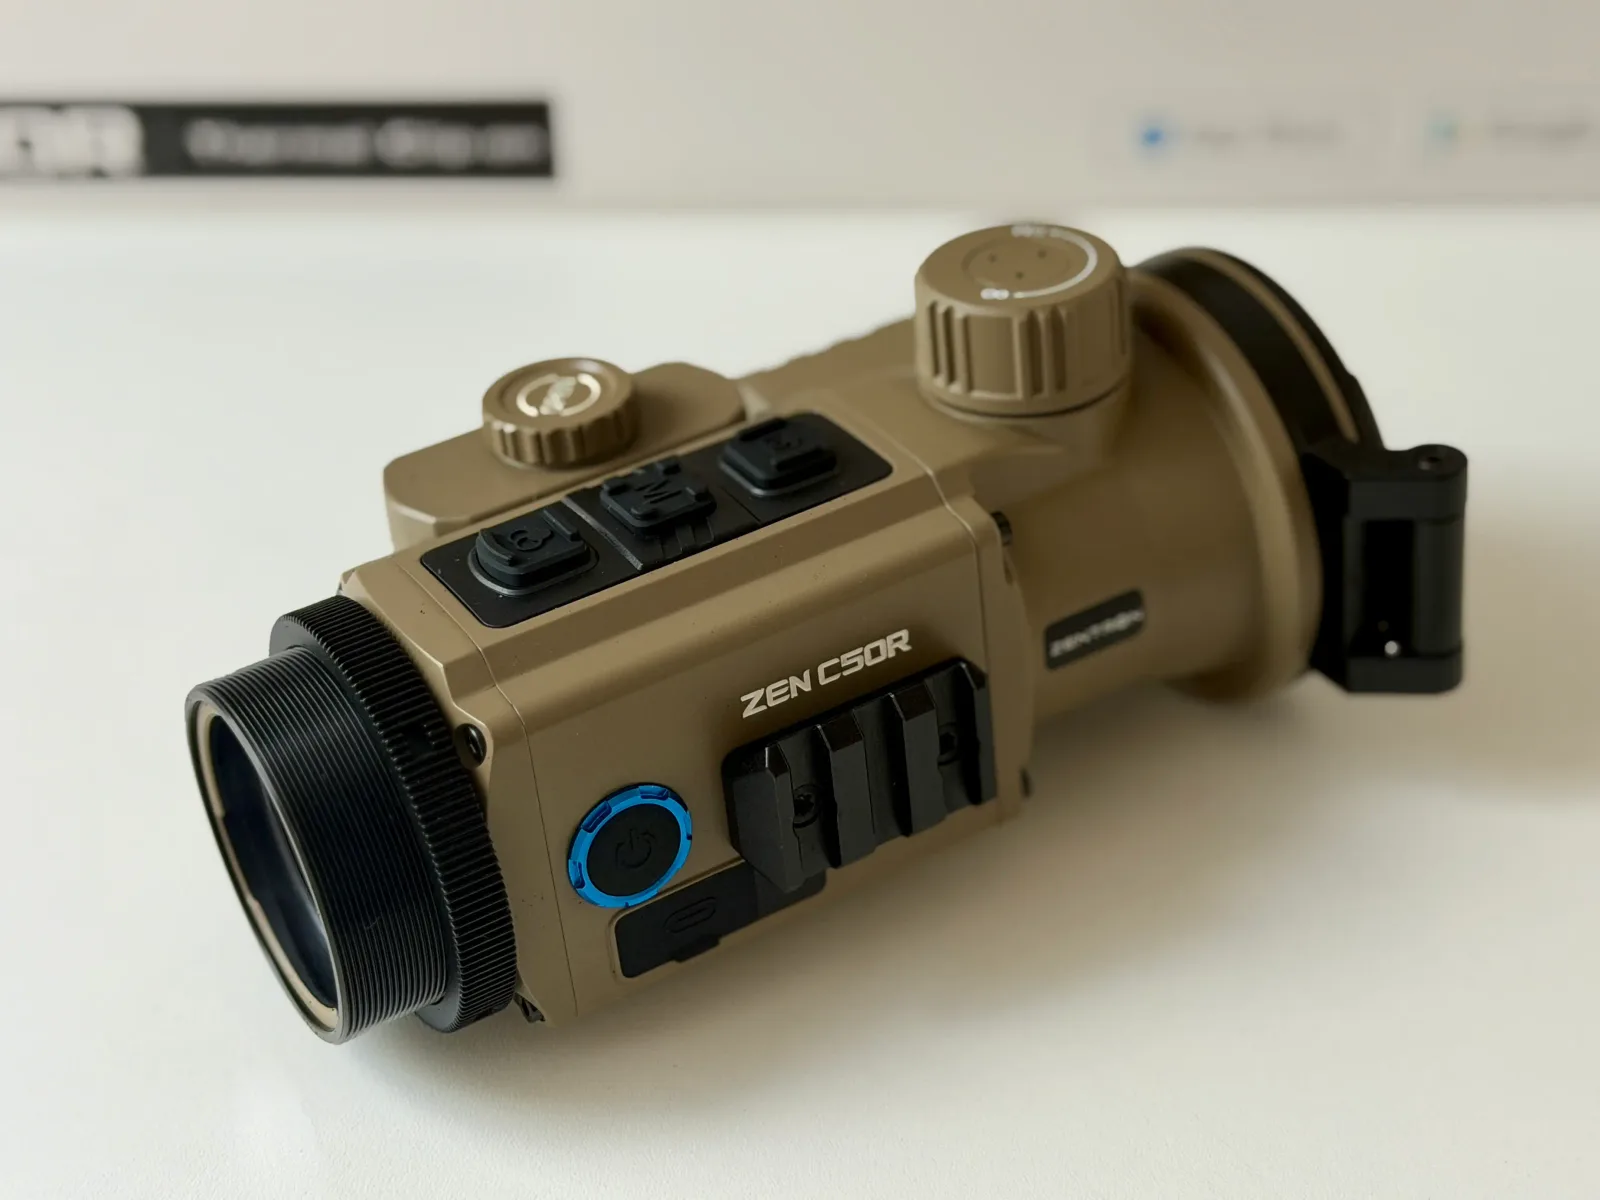
Zentron once again provided me with the ZEN C50R thermal imaging clip-on device for testing. I tested the C50R for six months, similar to the previously tested M6 Pro (separate Geartester report from August 26, 2026). The following statements reflect my personal impressions and experiences. This report was not coordinated with Zentron, and we have no business relationship.
Legal notice
In Germany: Permanently mounting a clip-on device originally classified as dual-use legally reclassifies it as a single-use device. For hunters, this means that such a single-use clip-on device is subject to firearms regulations and must therefore be stored in a gun safe!
Background to the test
The Zentron ZEN C50 thermal imaging clip-on device (without the "R") has been on the market for some time, and I've had the opportunity to test it extensively (see the Geartester report from March 31, 2025). Although I had to return my initial test unit, I bought my own C50 in the summer of 2025 and have been using it intensively ever since.
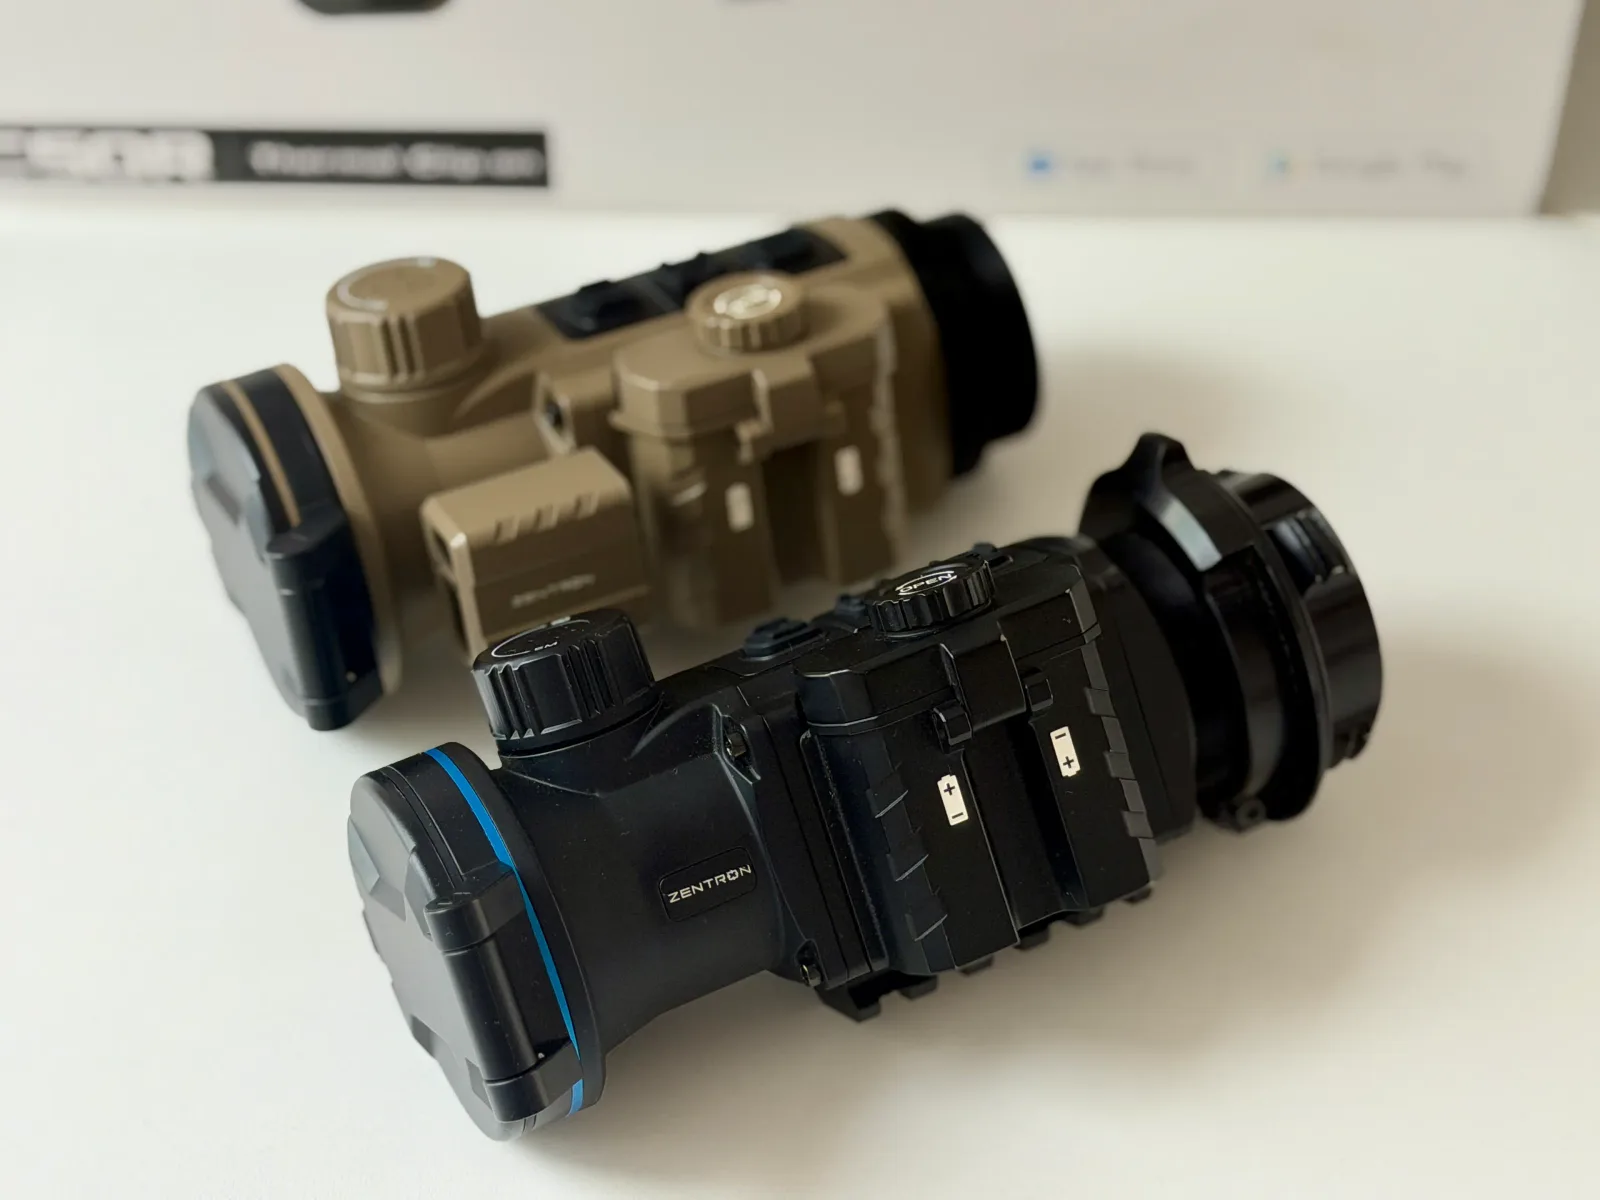
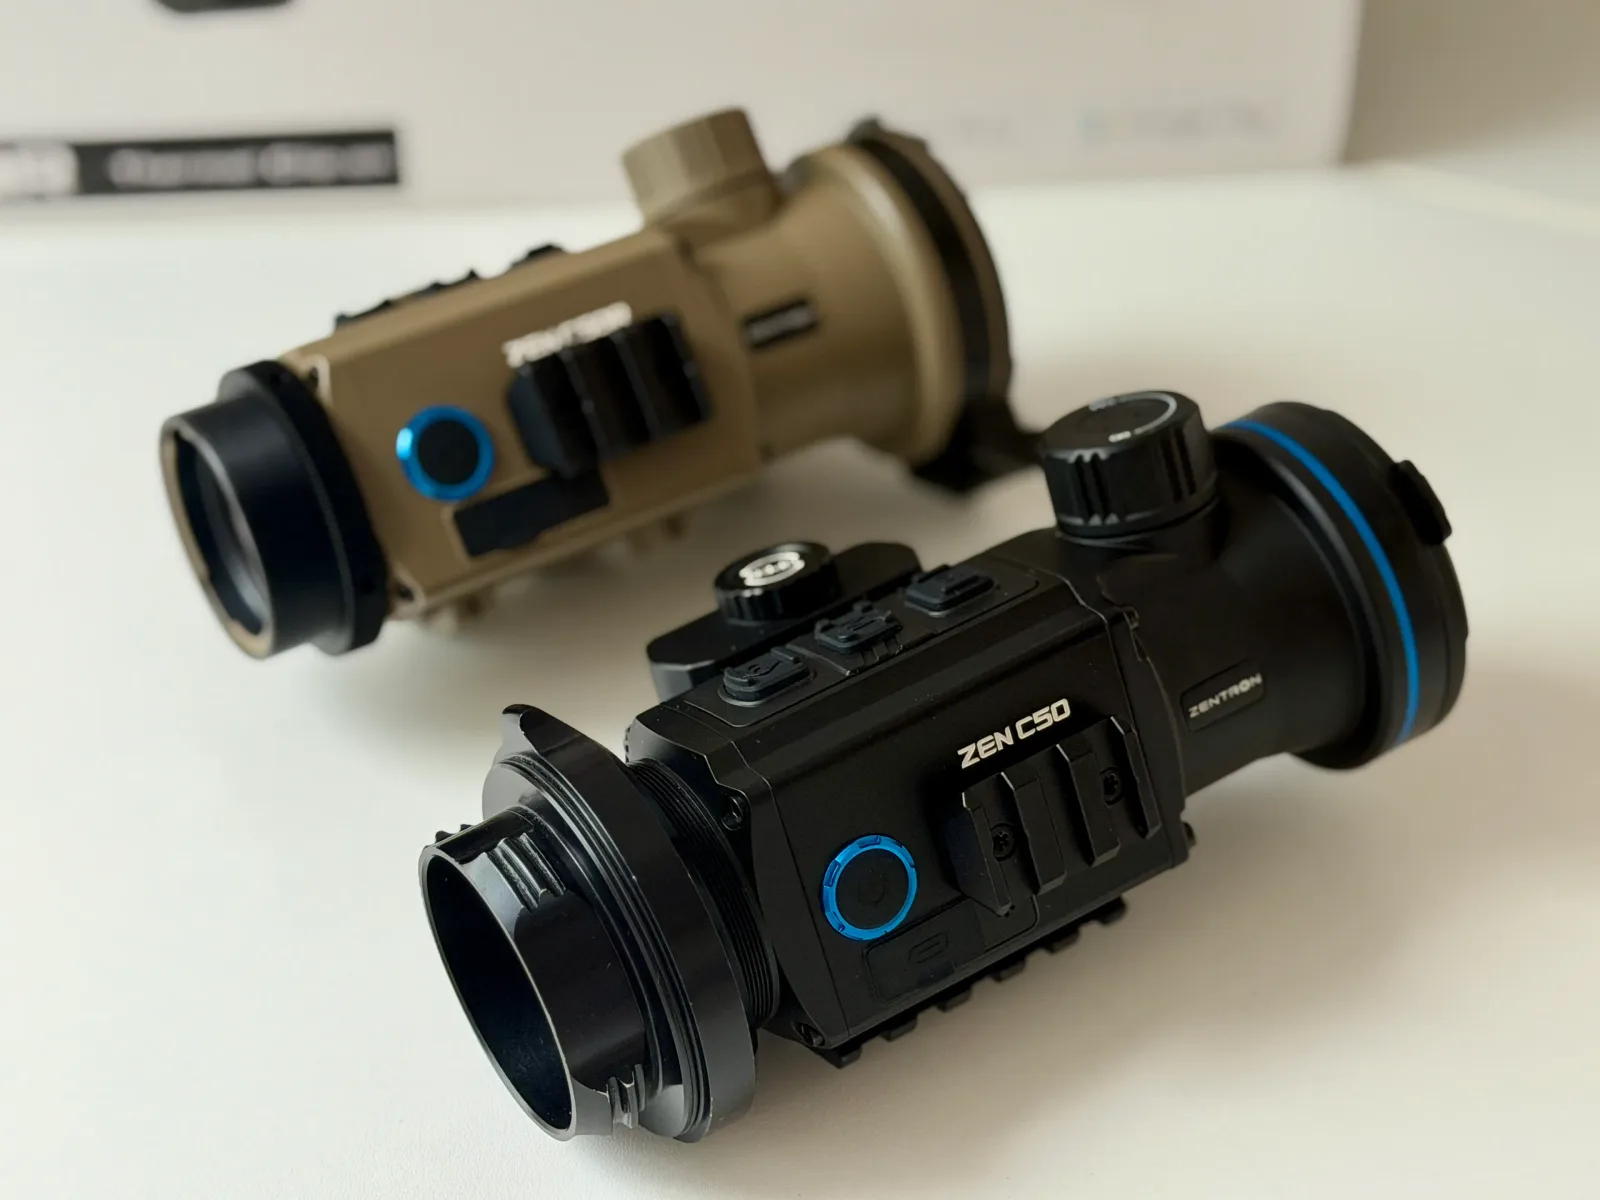
At IWA 2026, Zentron offered me the opportunity to test the C50R, the version with an integrated laser rangefinder (LRF). Since I already know the C50 and its functions very well, a direct comparison of the two devices was ideal for assessing the practical added value of the rangefinder. The C50R is otherwise identical to the C50, which makes it easy to evaluate this extra function in practice.
Incidentally, I use my own C50 on a Dentler Picatinny rail, so I could keep my tried-and-tested mounting solution and swap the two devices one-to-one. That made comparison easy. And since I didn't have to justify a new purchase at home this time, the decision was even easier. So I accepted and immediately added a small request: could it perhaps be a sand-colored C50R? I liked that color on my M6 Pro, and it's something different from the usual black that seemingly every other clip-on device comes in.
Technical details
The C50R has the following key specifications:
- Sensor: 640x512
- Lens: 50mm (F1.0)
- Pitch: 12μm
- OLED screen: 1920x1080
- NETD: ≤18mk
- IP67 protection
- Adaptergewinde: M45x0,75
- Battery: 2x 18350 (approx. 6 hours runtime)
- USB-C interface
- Weight: 425 grams (without adapter)
The technical specifications are therefore hardly different from those of the C50 without the "R". At 425 grams, the C50R is slightly heavier than the 390-gram C50, likely because of the additional laser rangefinder on the side. Zentron states a NETD of ≤ 18mK for the C50R, compared with 20mK for the C50. For me, this difference is not significant and should hardly be noticeable in practice. The main takeaway is that the added rangefinder is the only real distinction.
Scope of delivery
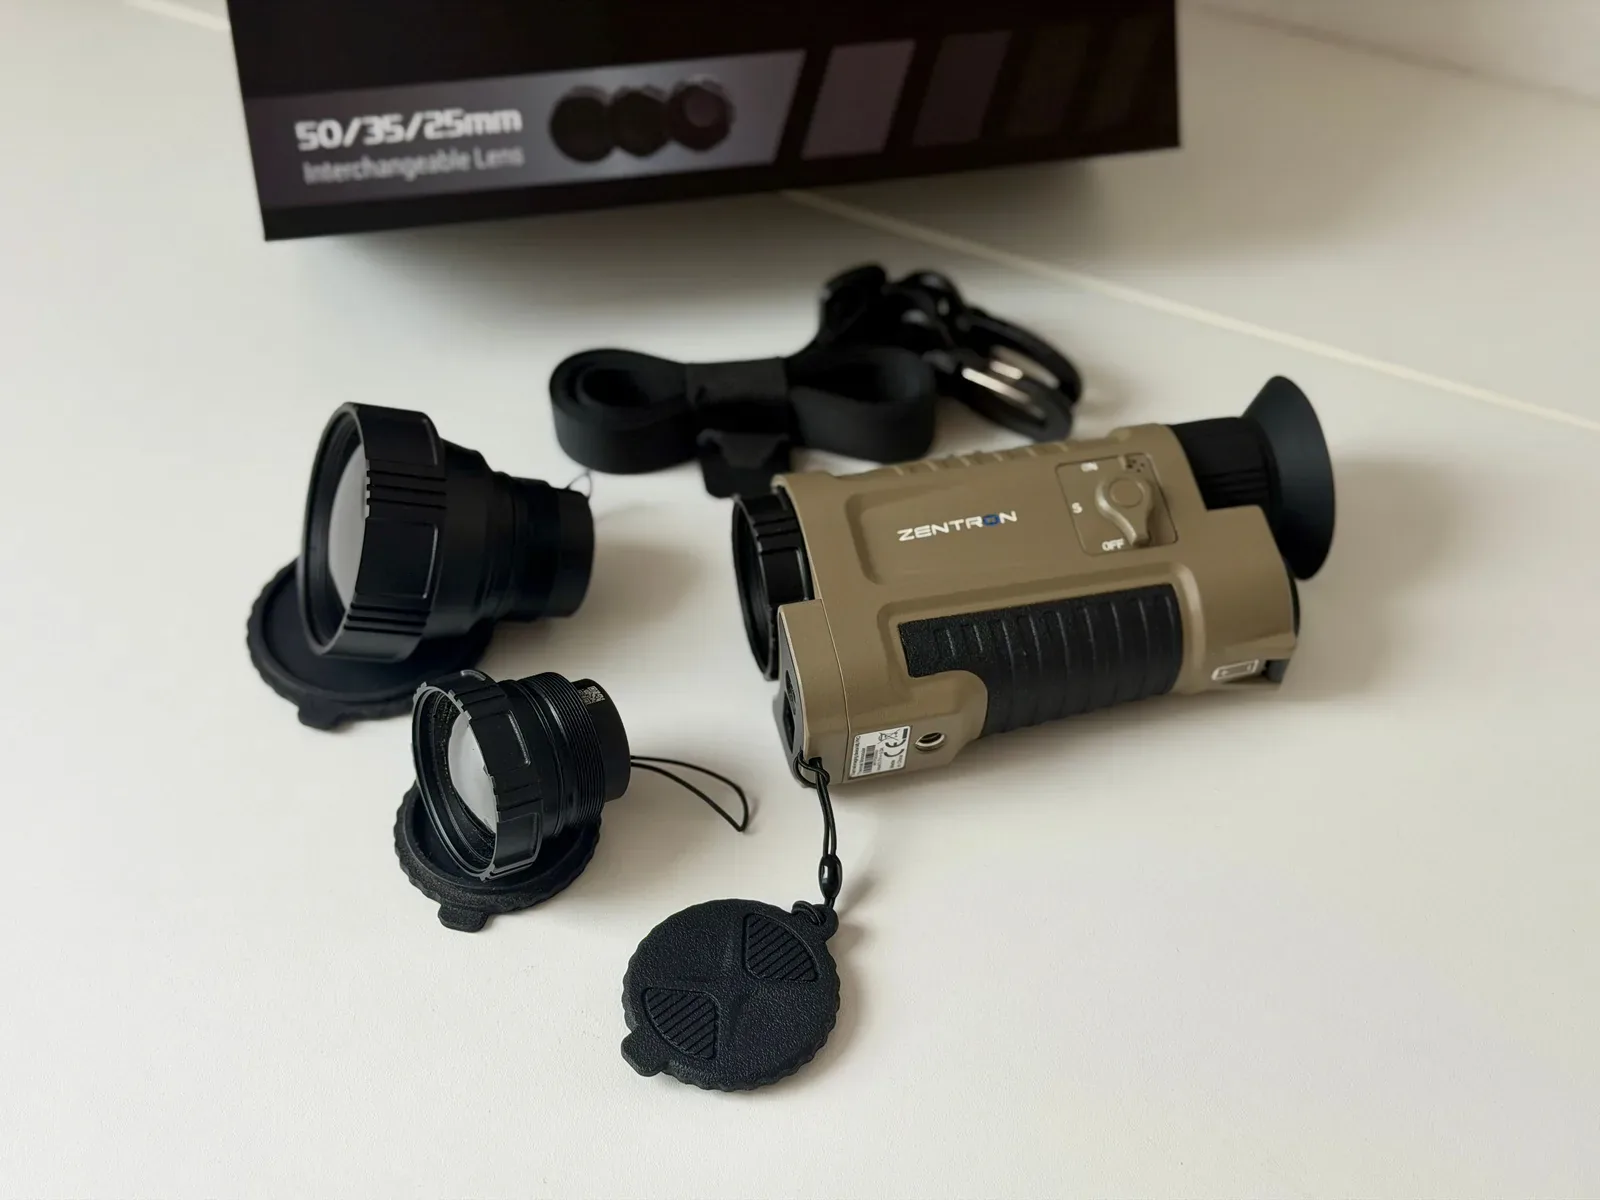
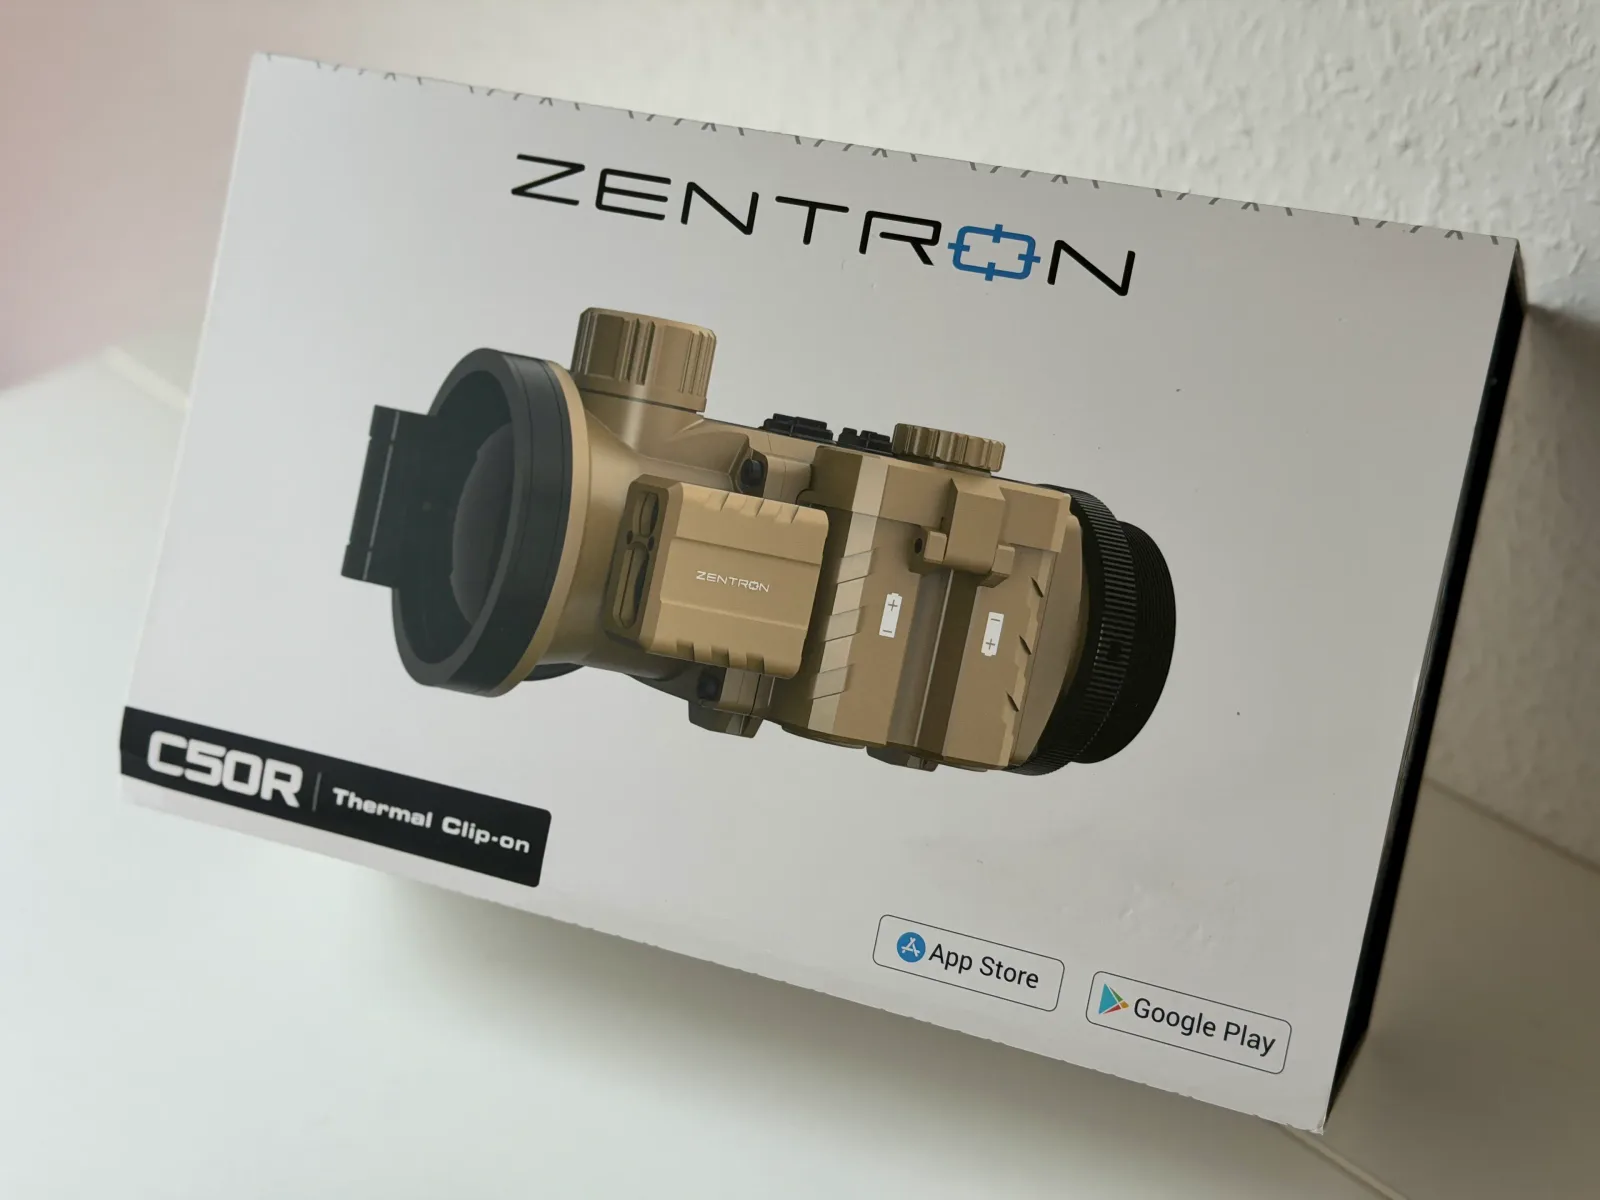
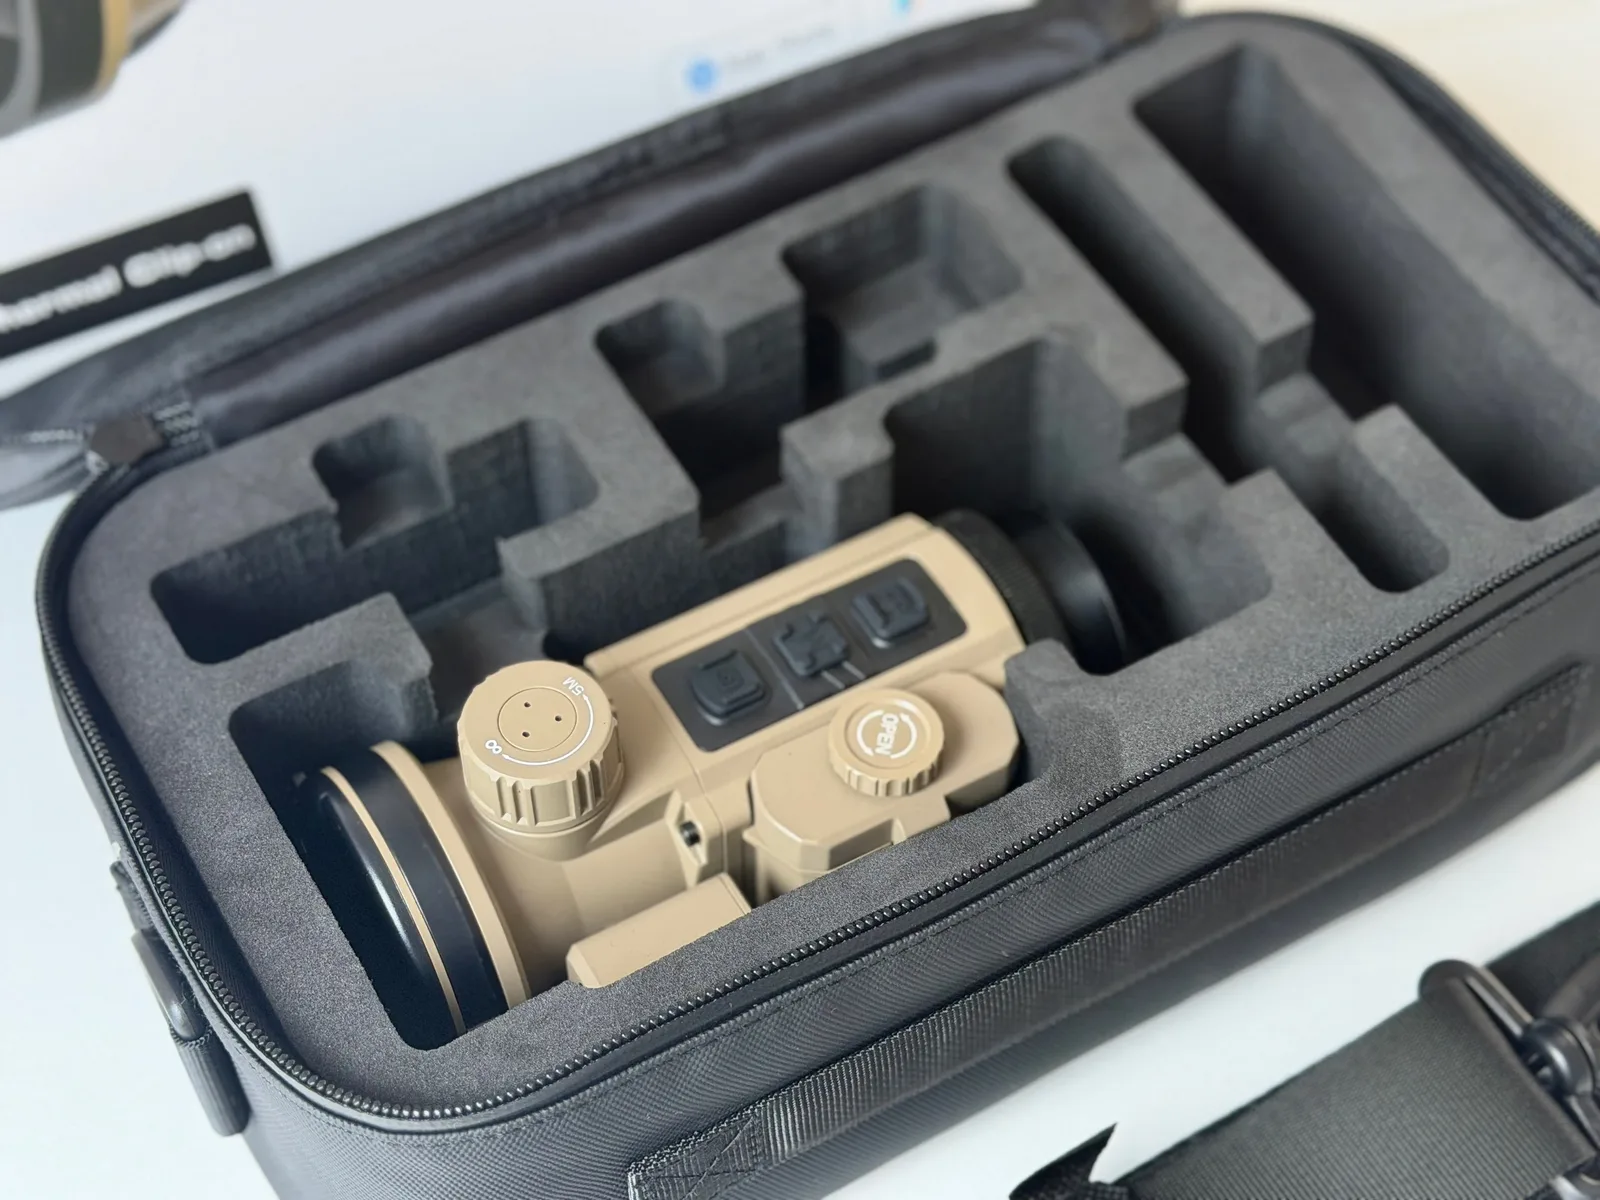
The C50R comes in a similarly unassuming package to the M6 Pro I recently tested. Inside a simple cardboard box is a small Cordura pouch containing the thermal imaging clip-on device. This pouch also contains the usual accessories that are now standard with virtually every thermal imaging clip-on device. Specifically, these include a USB-C cable, four 18350 batteries, a battery charger, and a printed quick-start guide.
Build quality
The C50R's build quality is very good and identical to my C50. The housing is still made of magnesium; nothing rattles or feels cheap, and all the controls convey a high-quality and robust impression. There are also hardly any differences in operation compared to the C50 without the "R". That consistency is a clear advantage if you already know the C50.
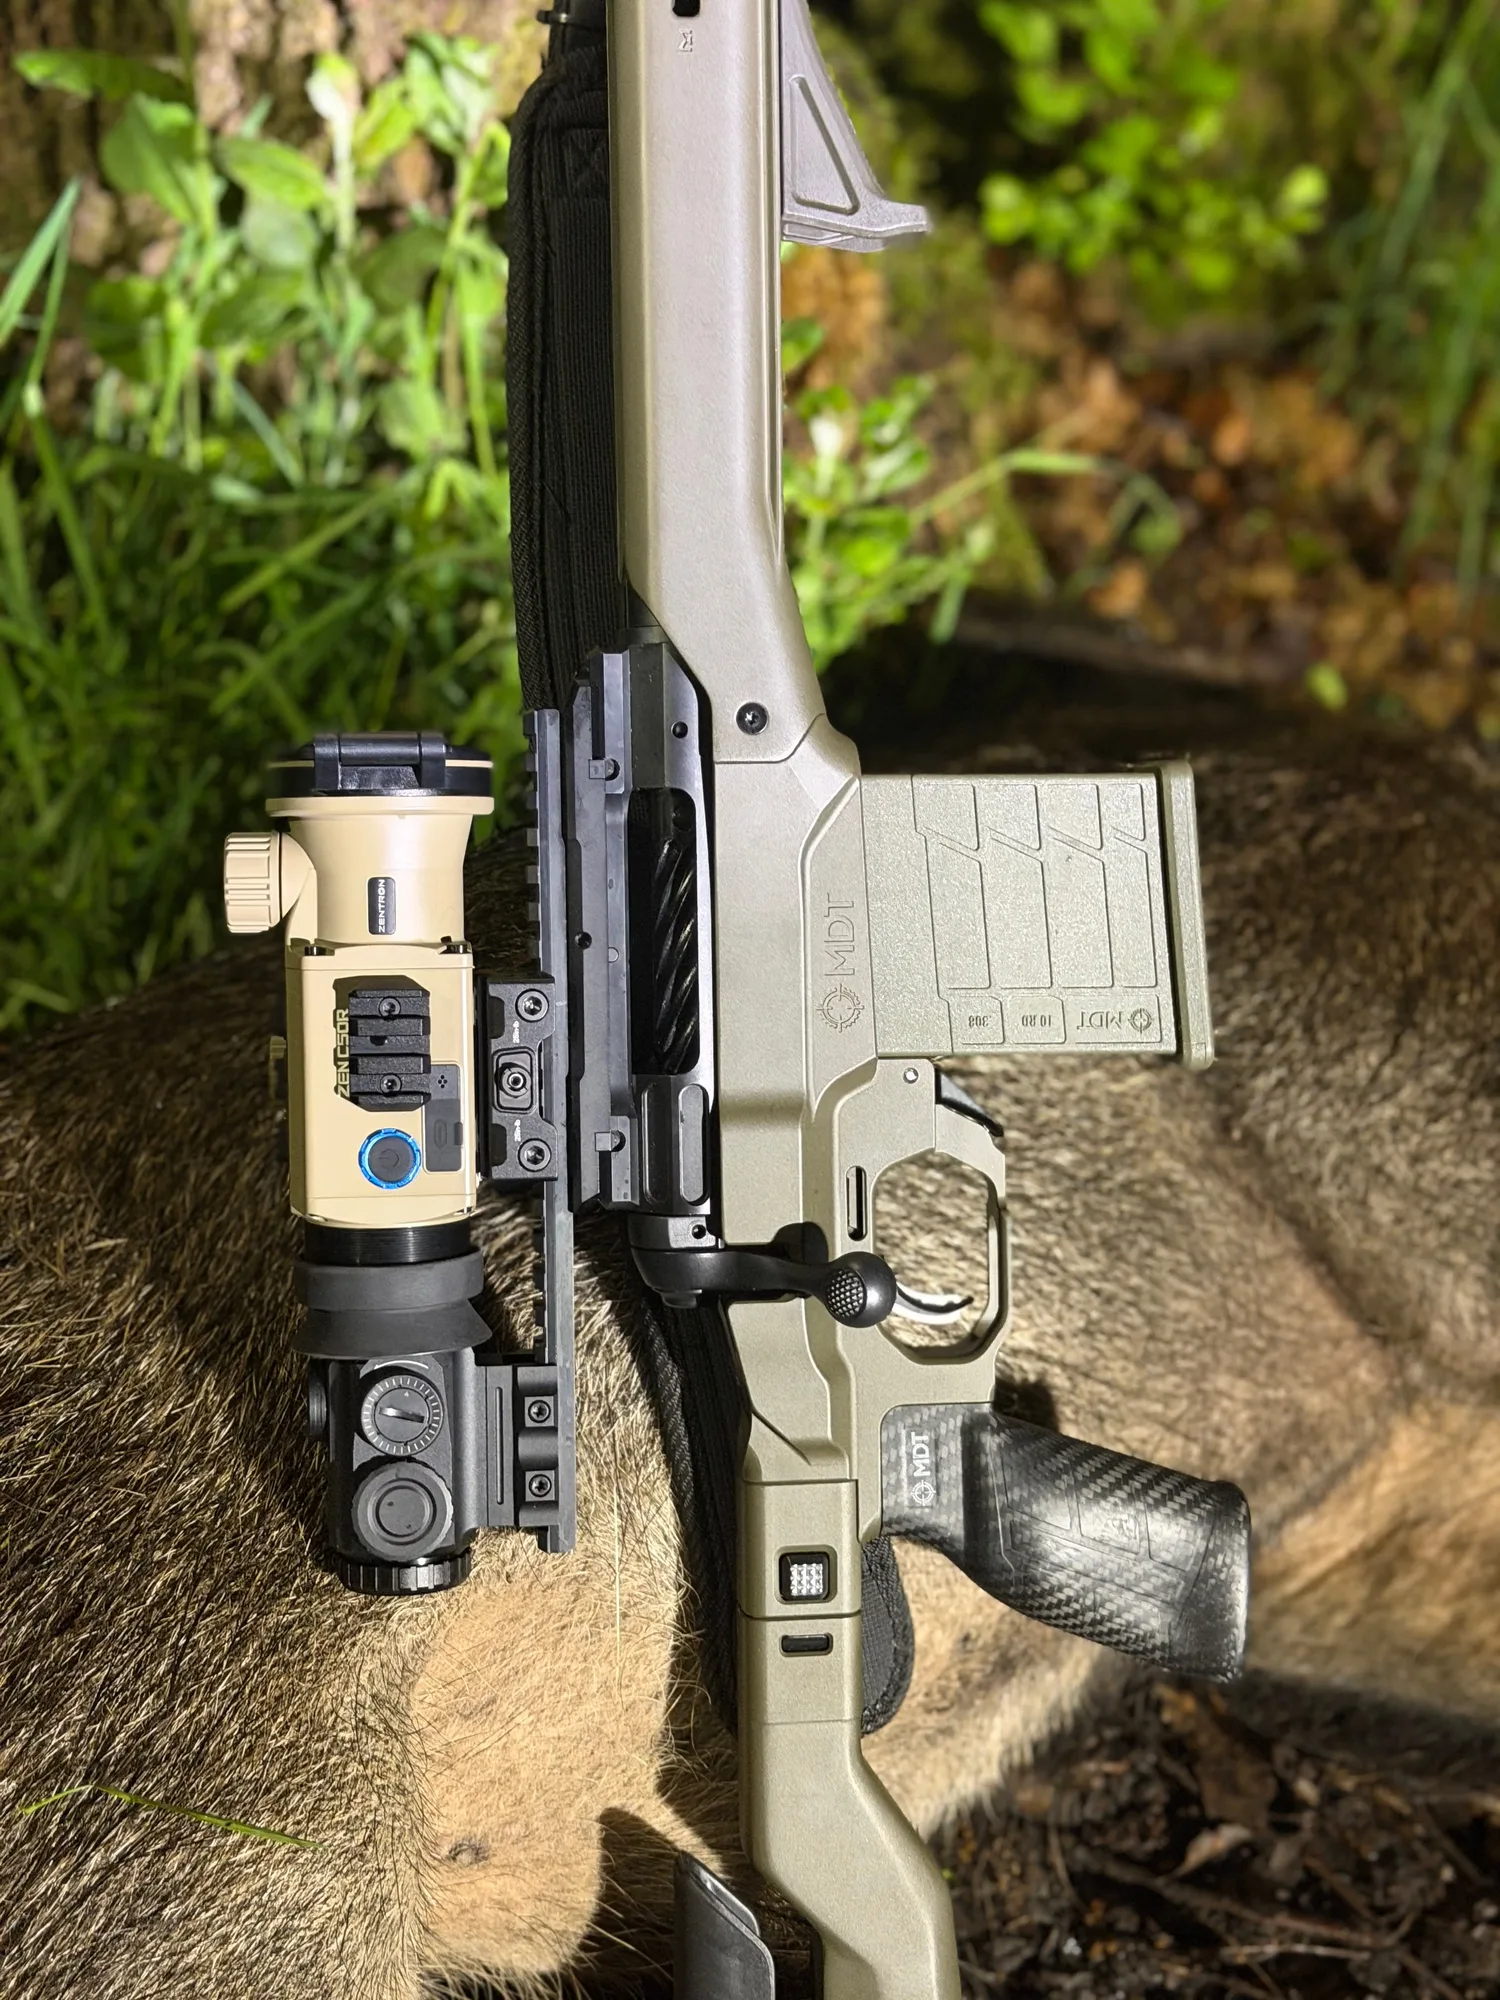
The power button is also located on the right side and has a blue border. However, it lacks a toggle switch for Off, Standby, and On, like the one found on the M6 Pro or the current HIKMICRO Thunder 4.0 series. Still, a 2.0 series of the ZEN C50 or C50R may eventually be released. In my opinion, that would be a worthwhile addition.
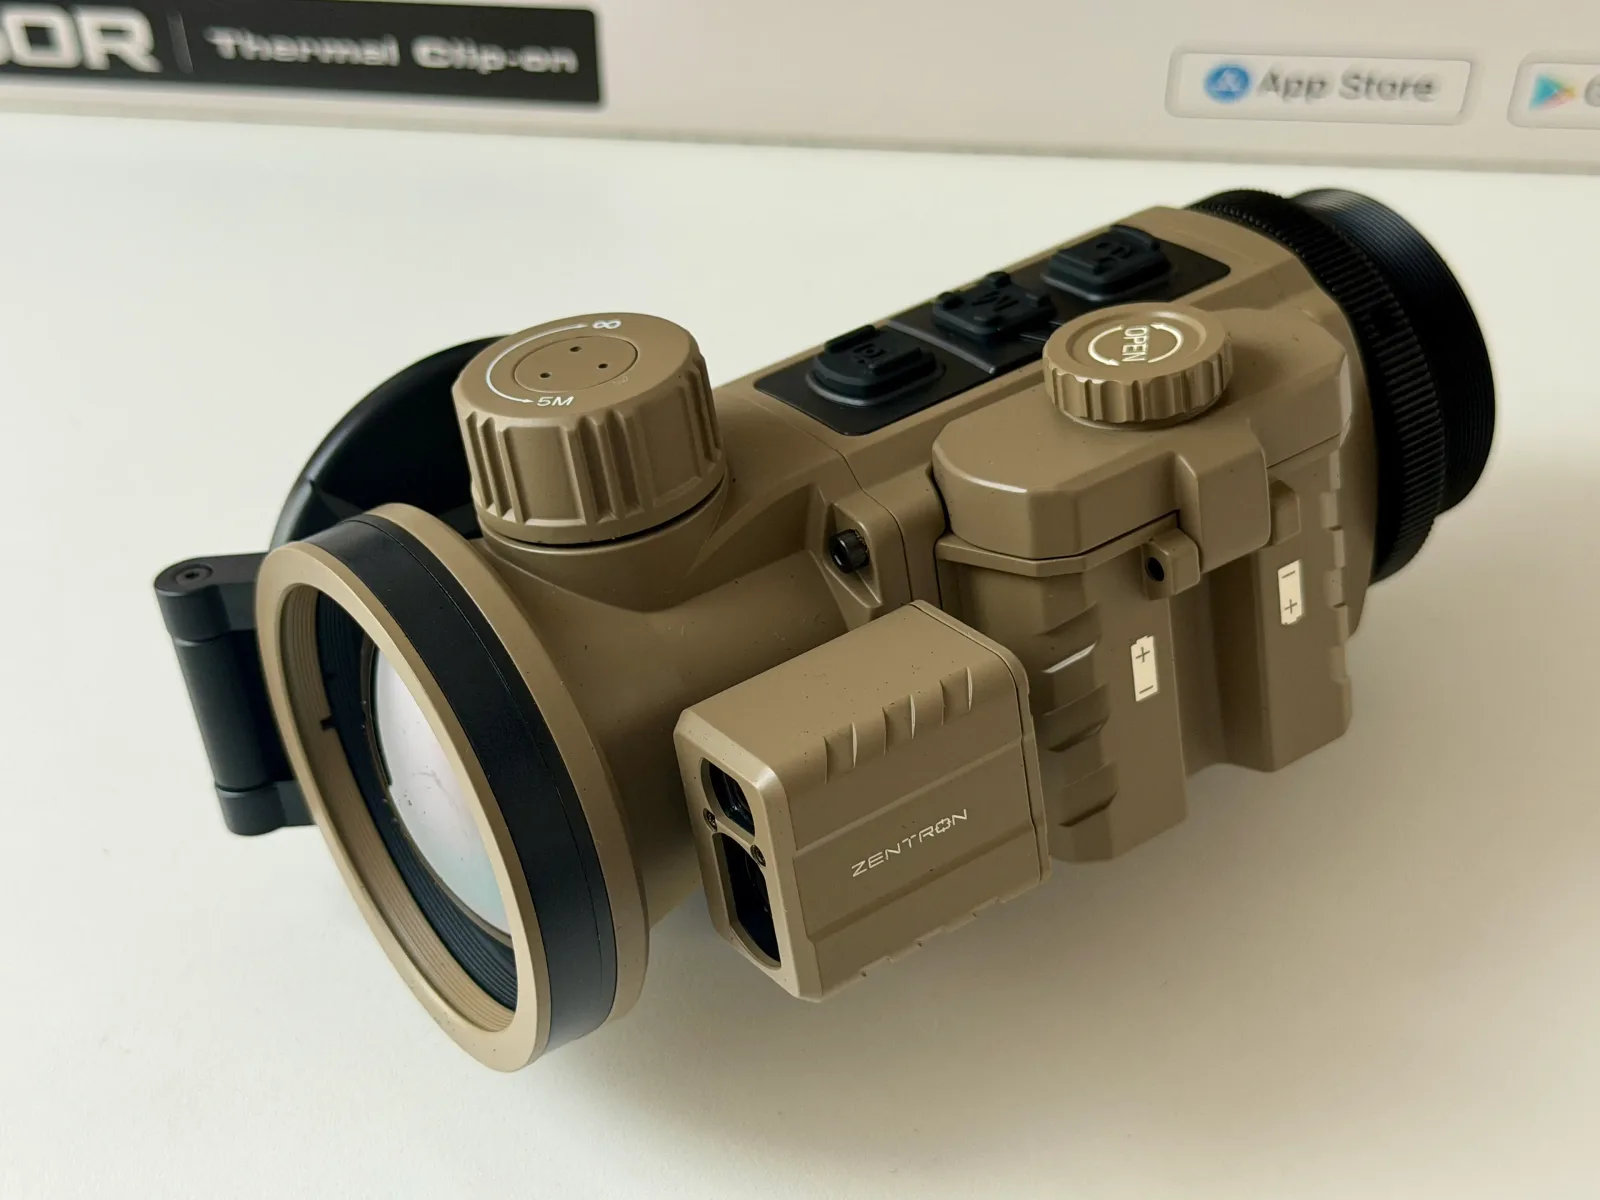
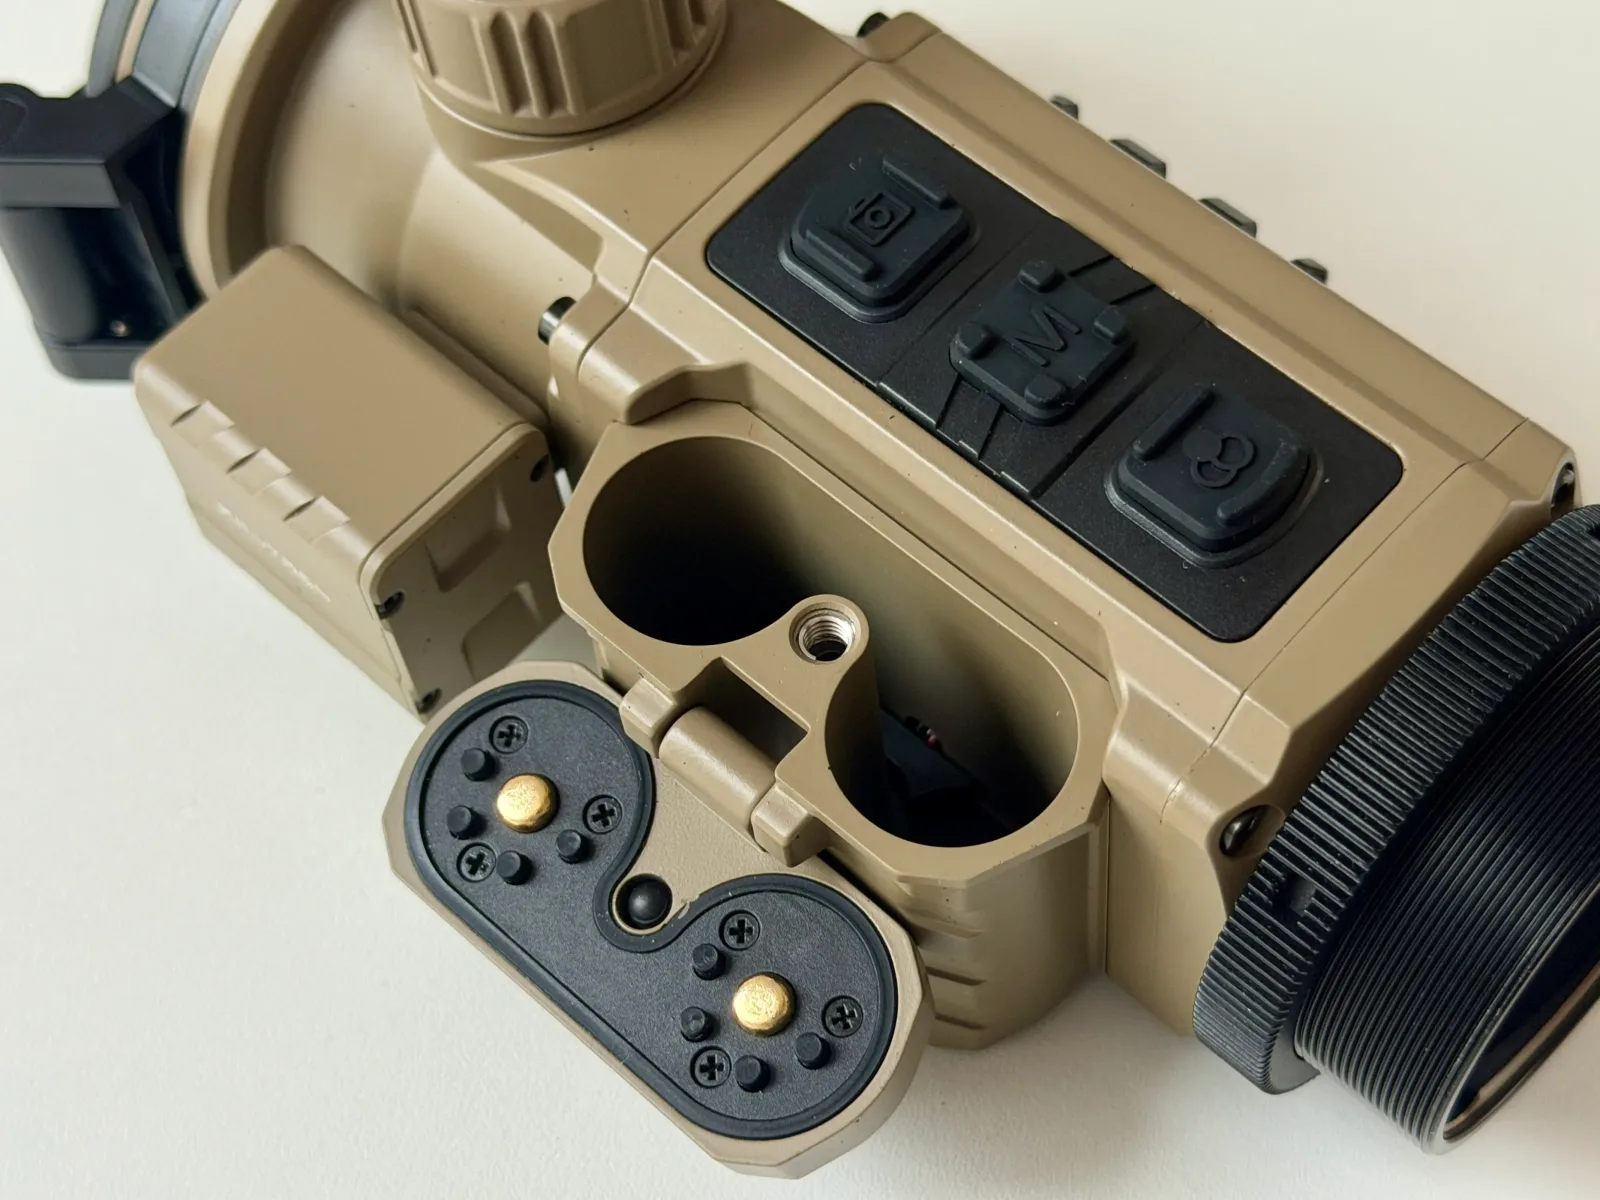
There are three control buttons on the top of the C50R:
- Camera Button = (short press = screenshot; long press = video recording)
- M = Pressing and holding opens the settings menu.
- Laser distance measurement / Zoom = Short press = Laser distance measurement; long press = Manual shutter / image calibration
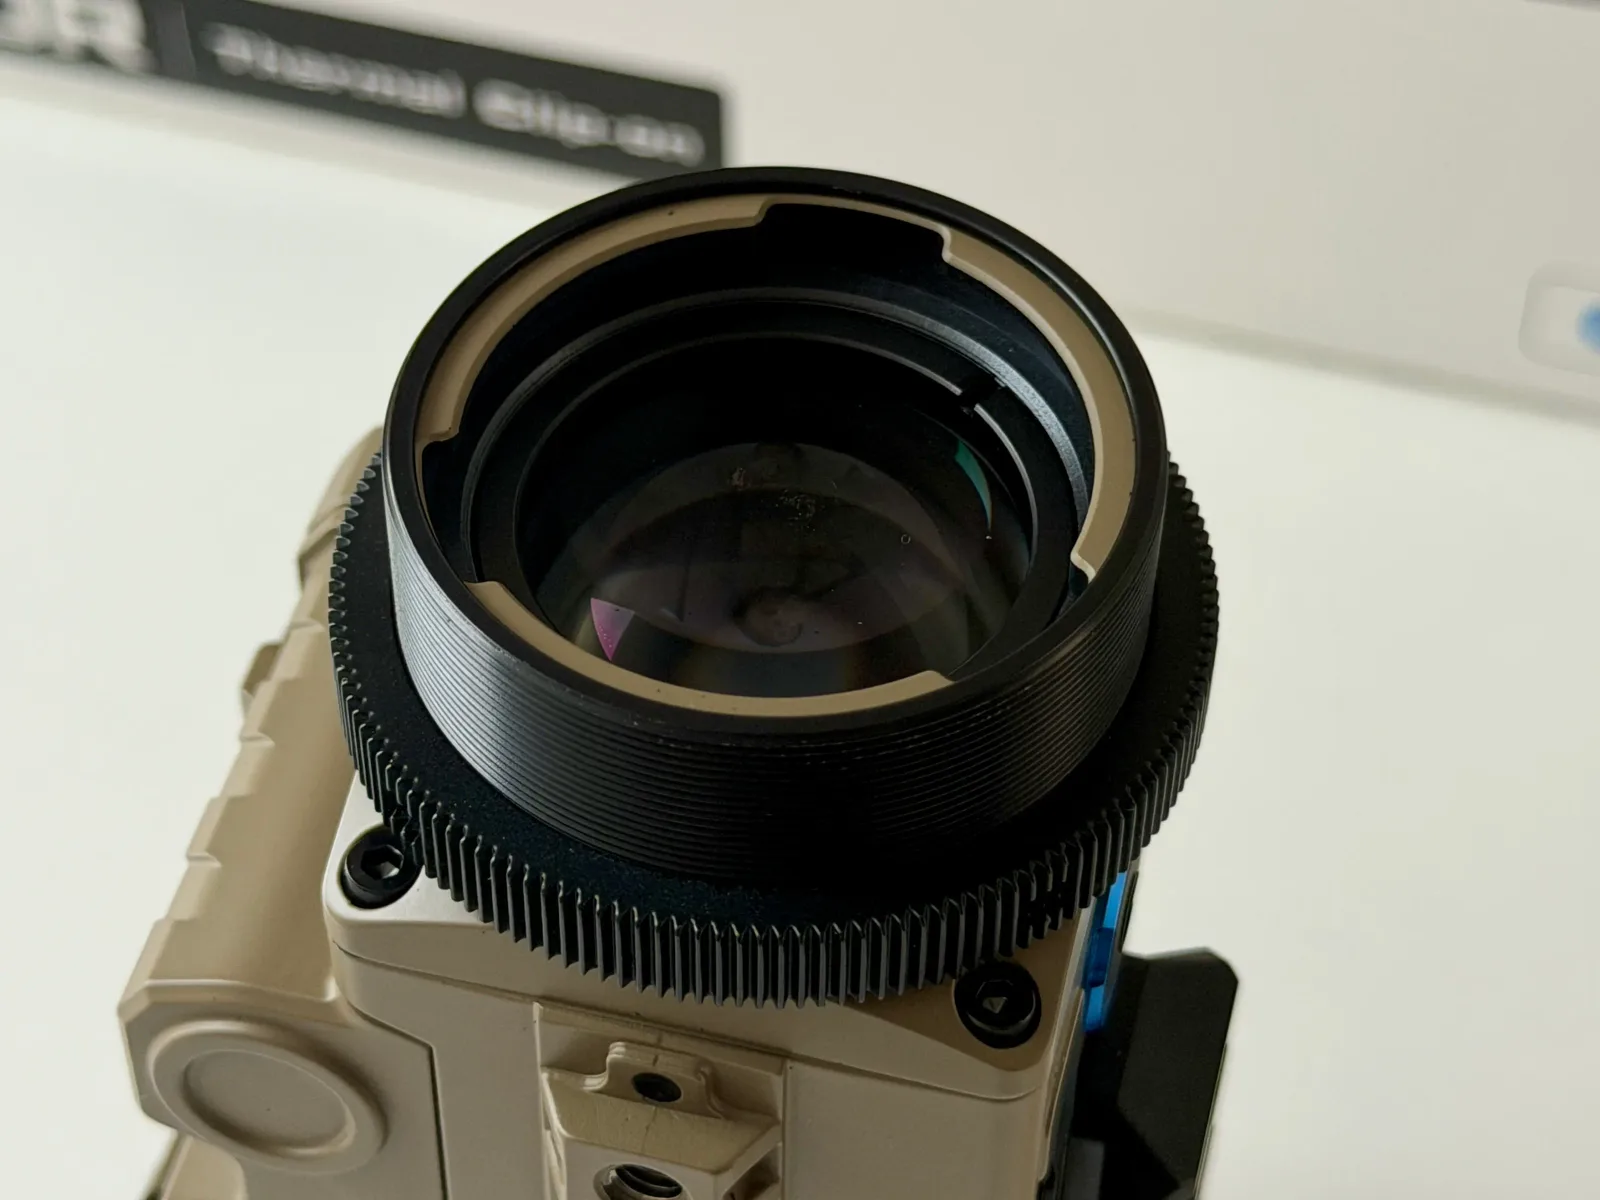
The buttons are well separated by tactile feedback and can be easily located and operated even with gloves. Focusing is achieved, as with the C50, via the focus ring on the top. This works flawlessly and eliminates the need to reach far forward to the lens. The lens cap remains unchanged; it opens and locks silently. Overall, this makes operation quick and practical in the field.
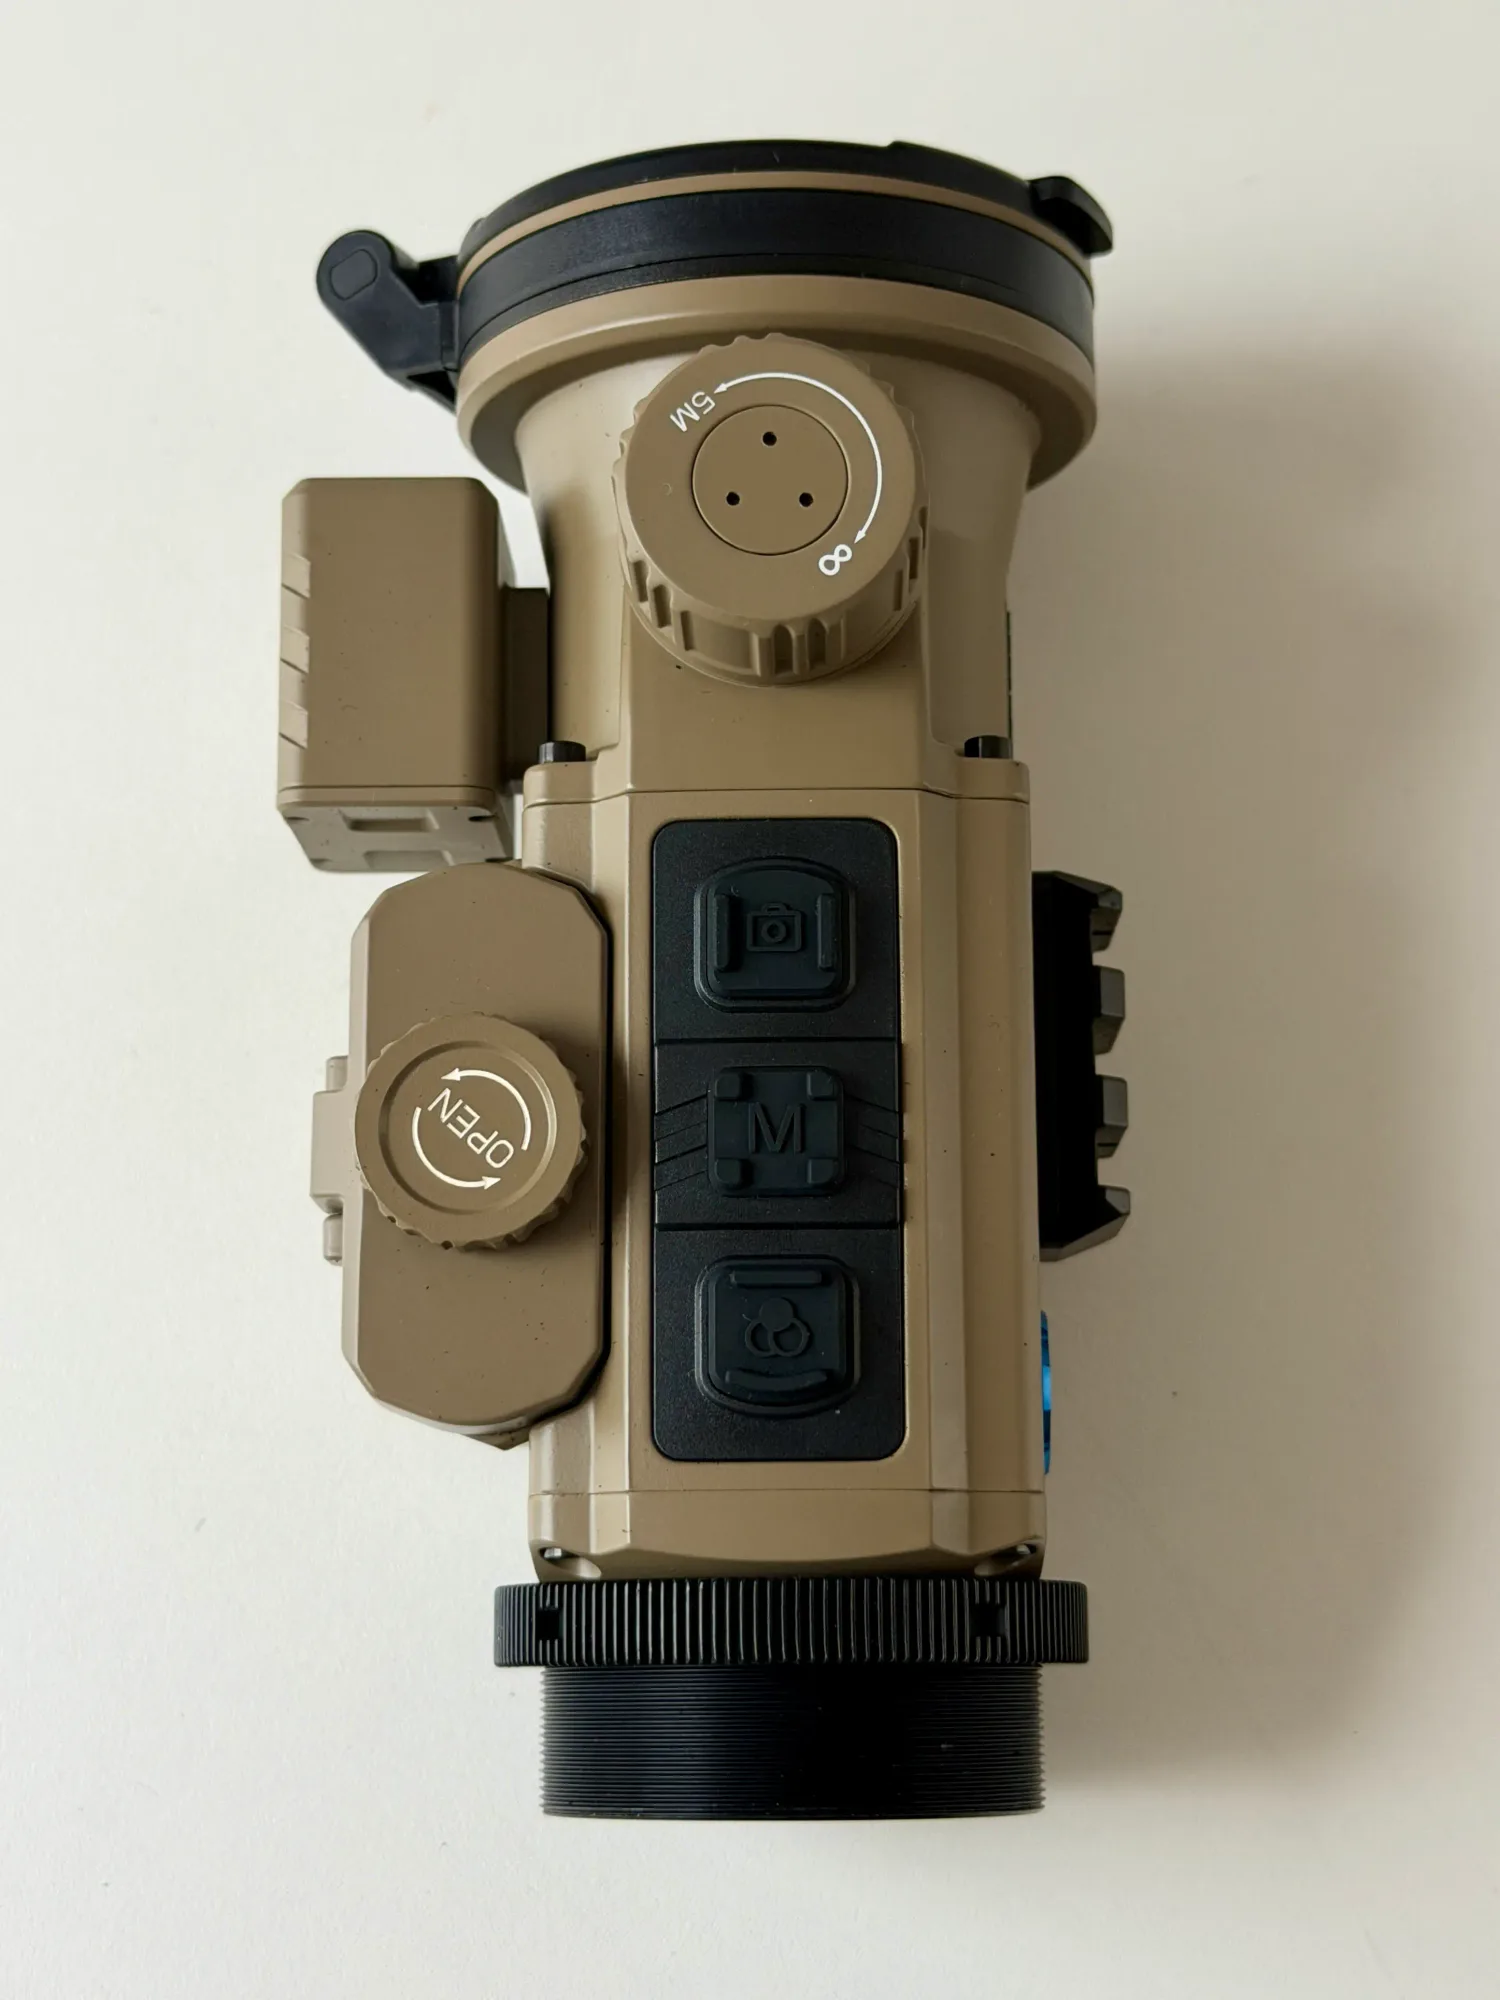
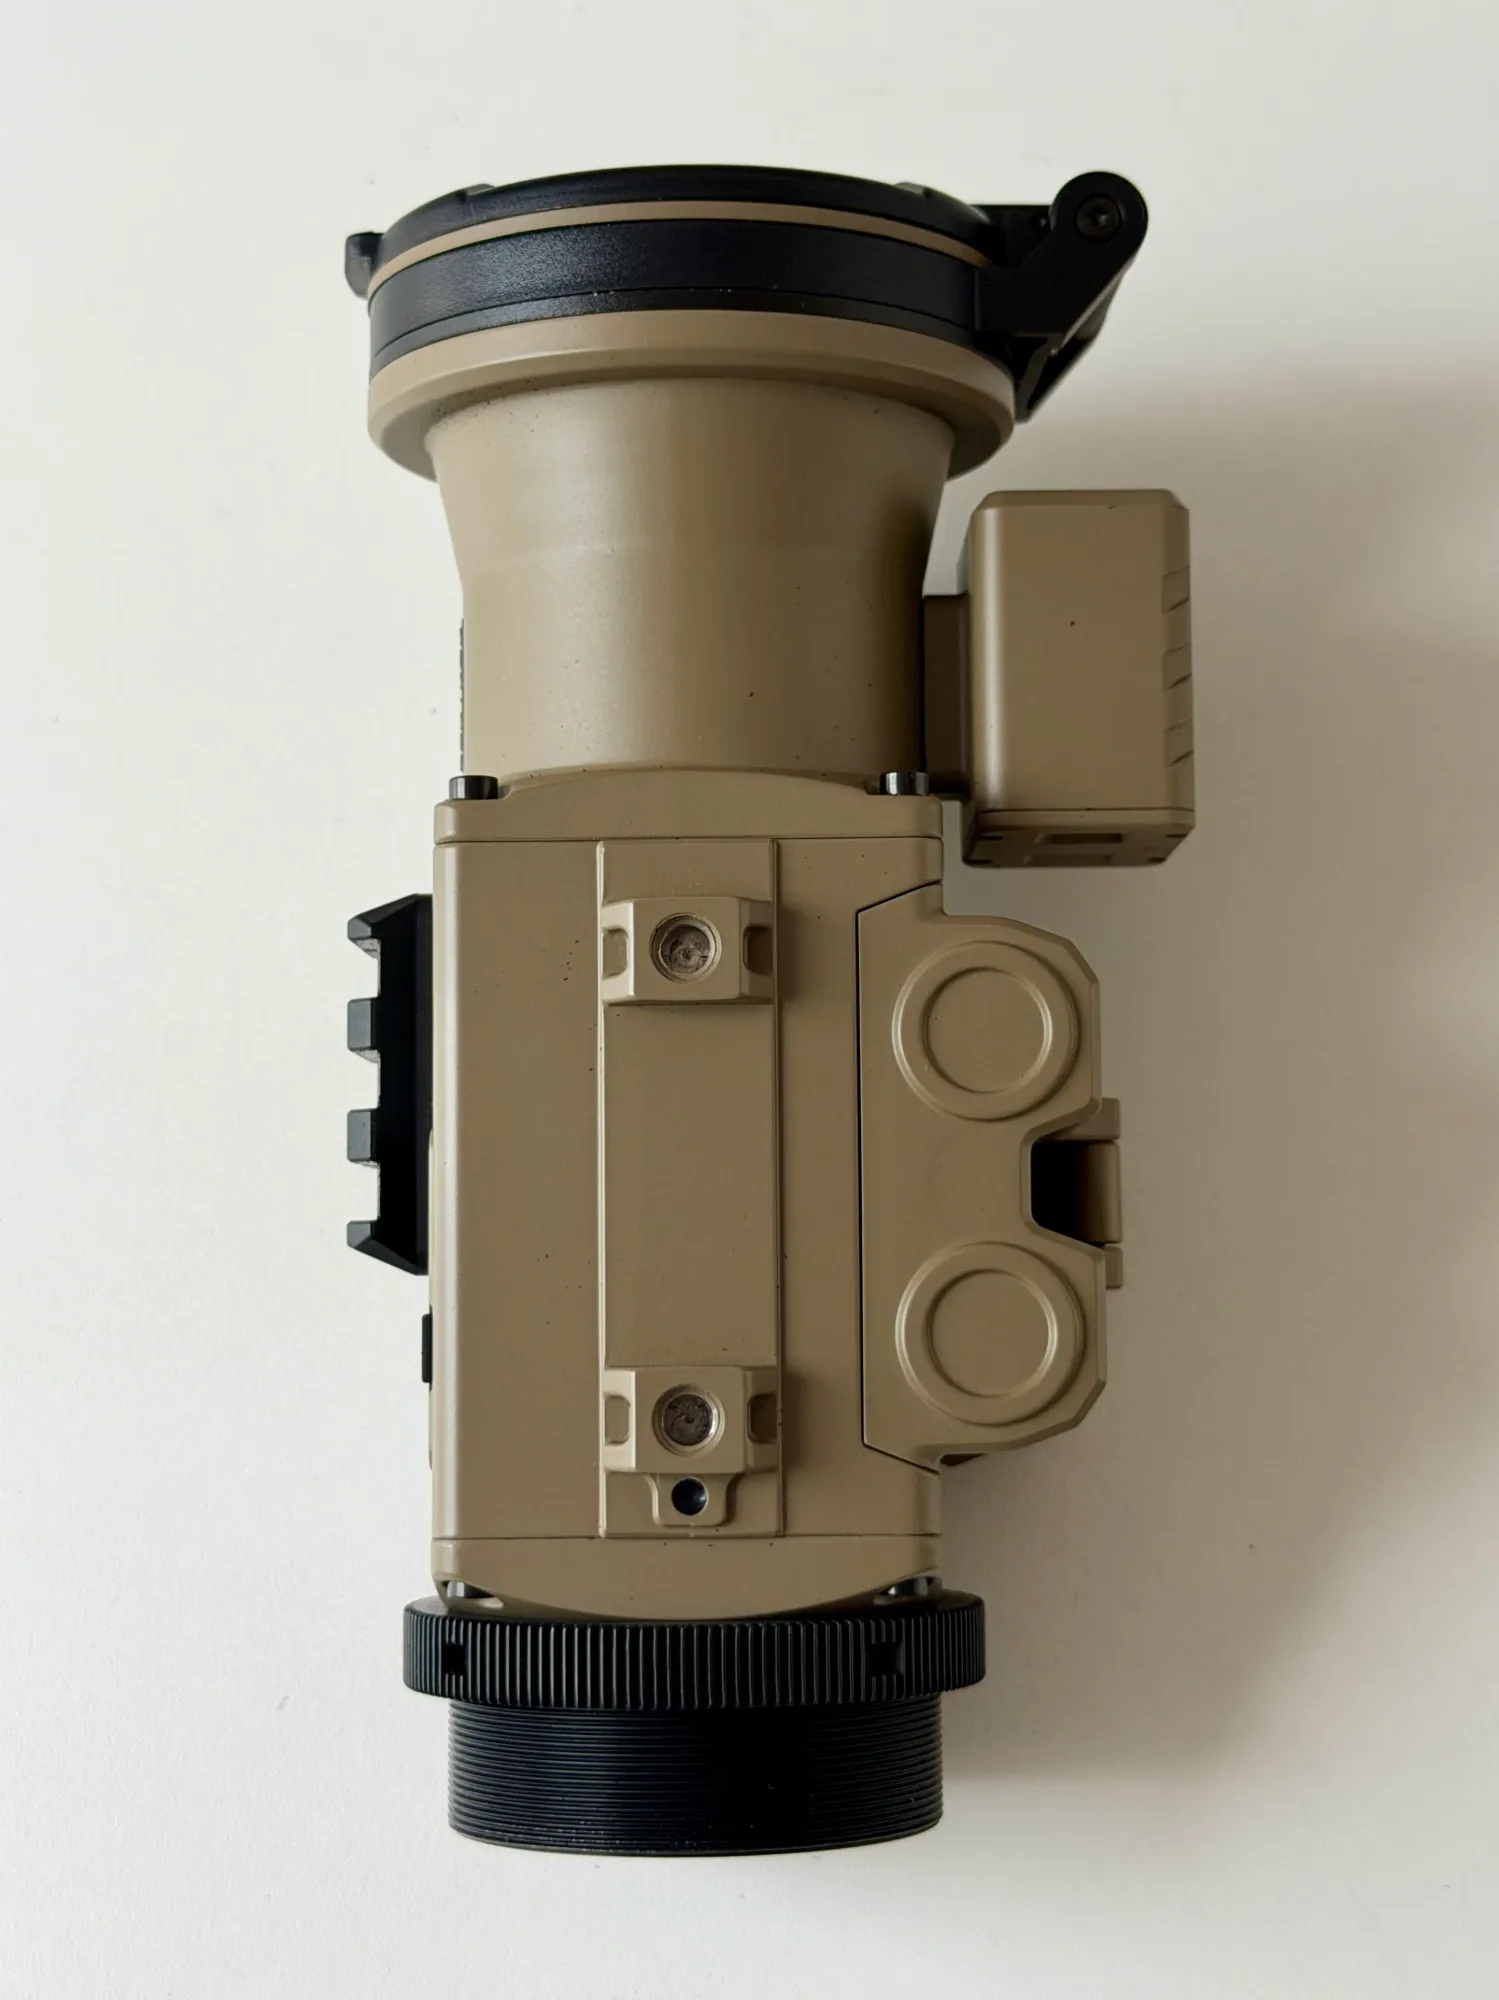
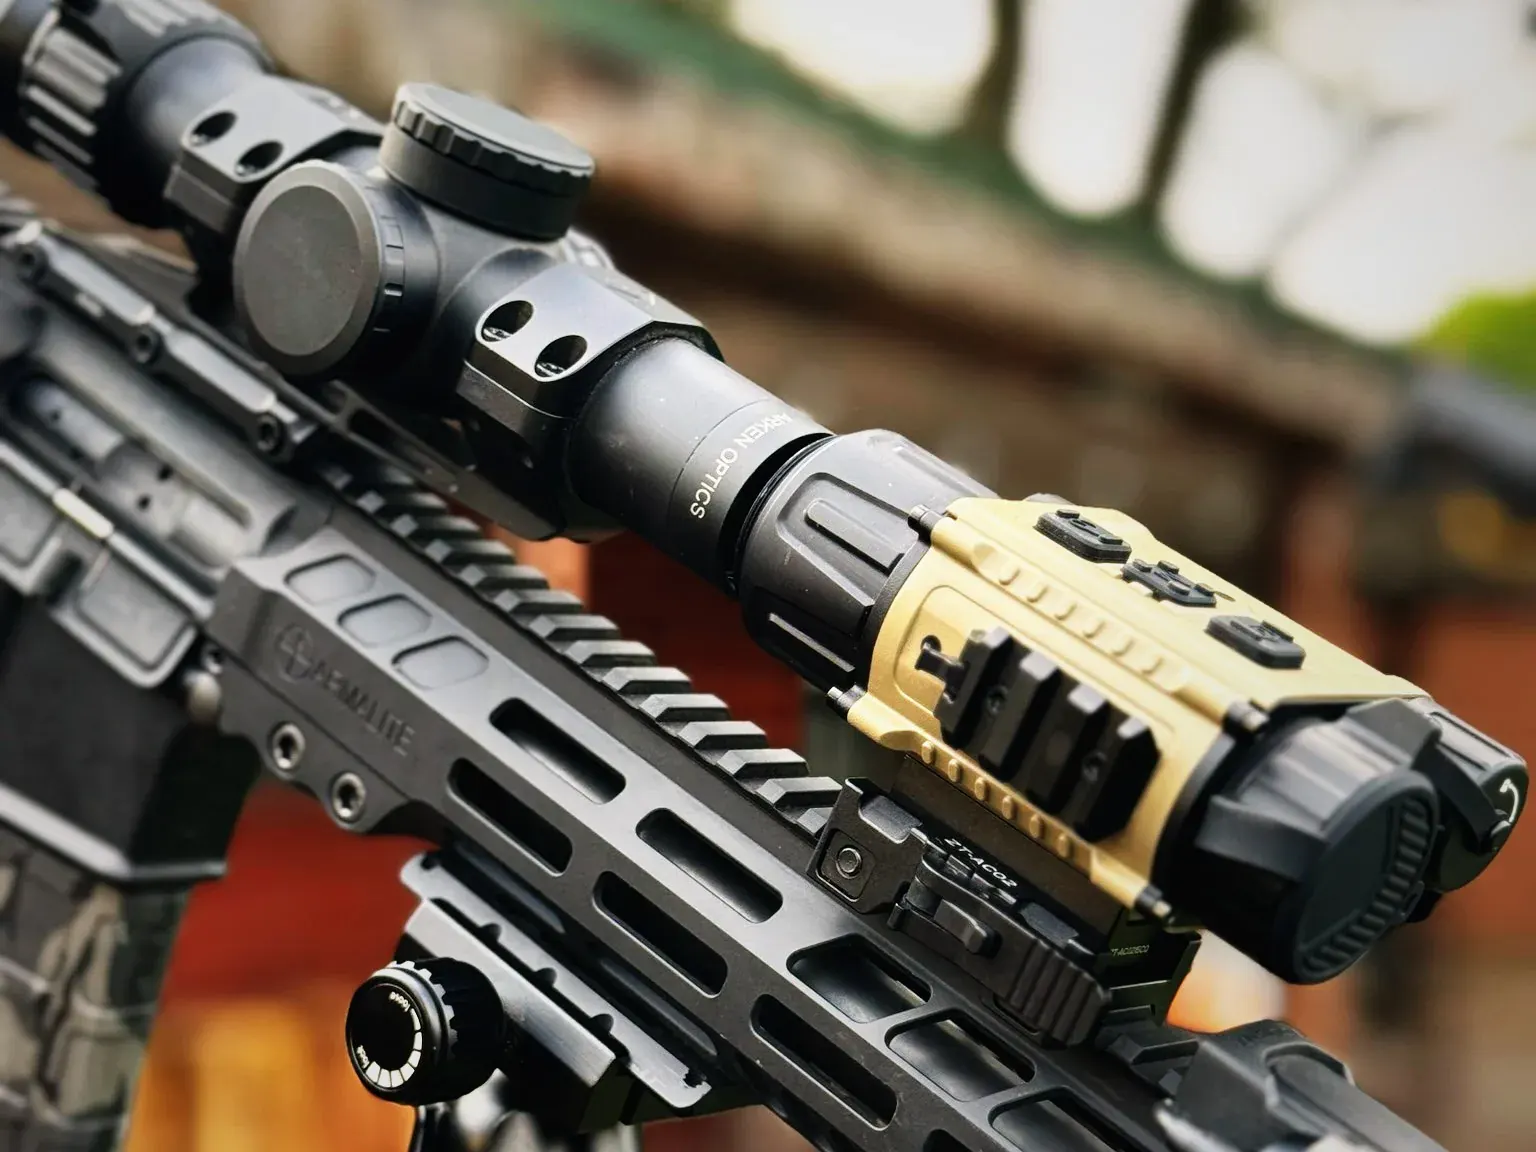
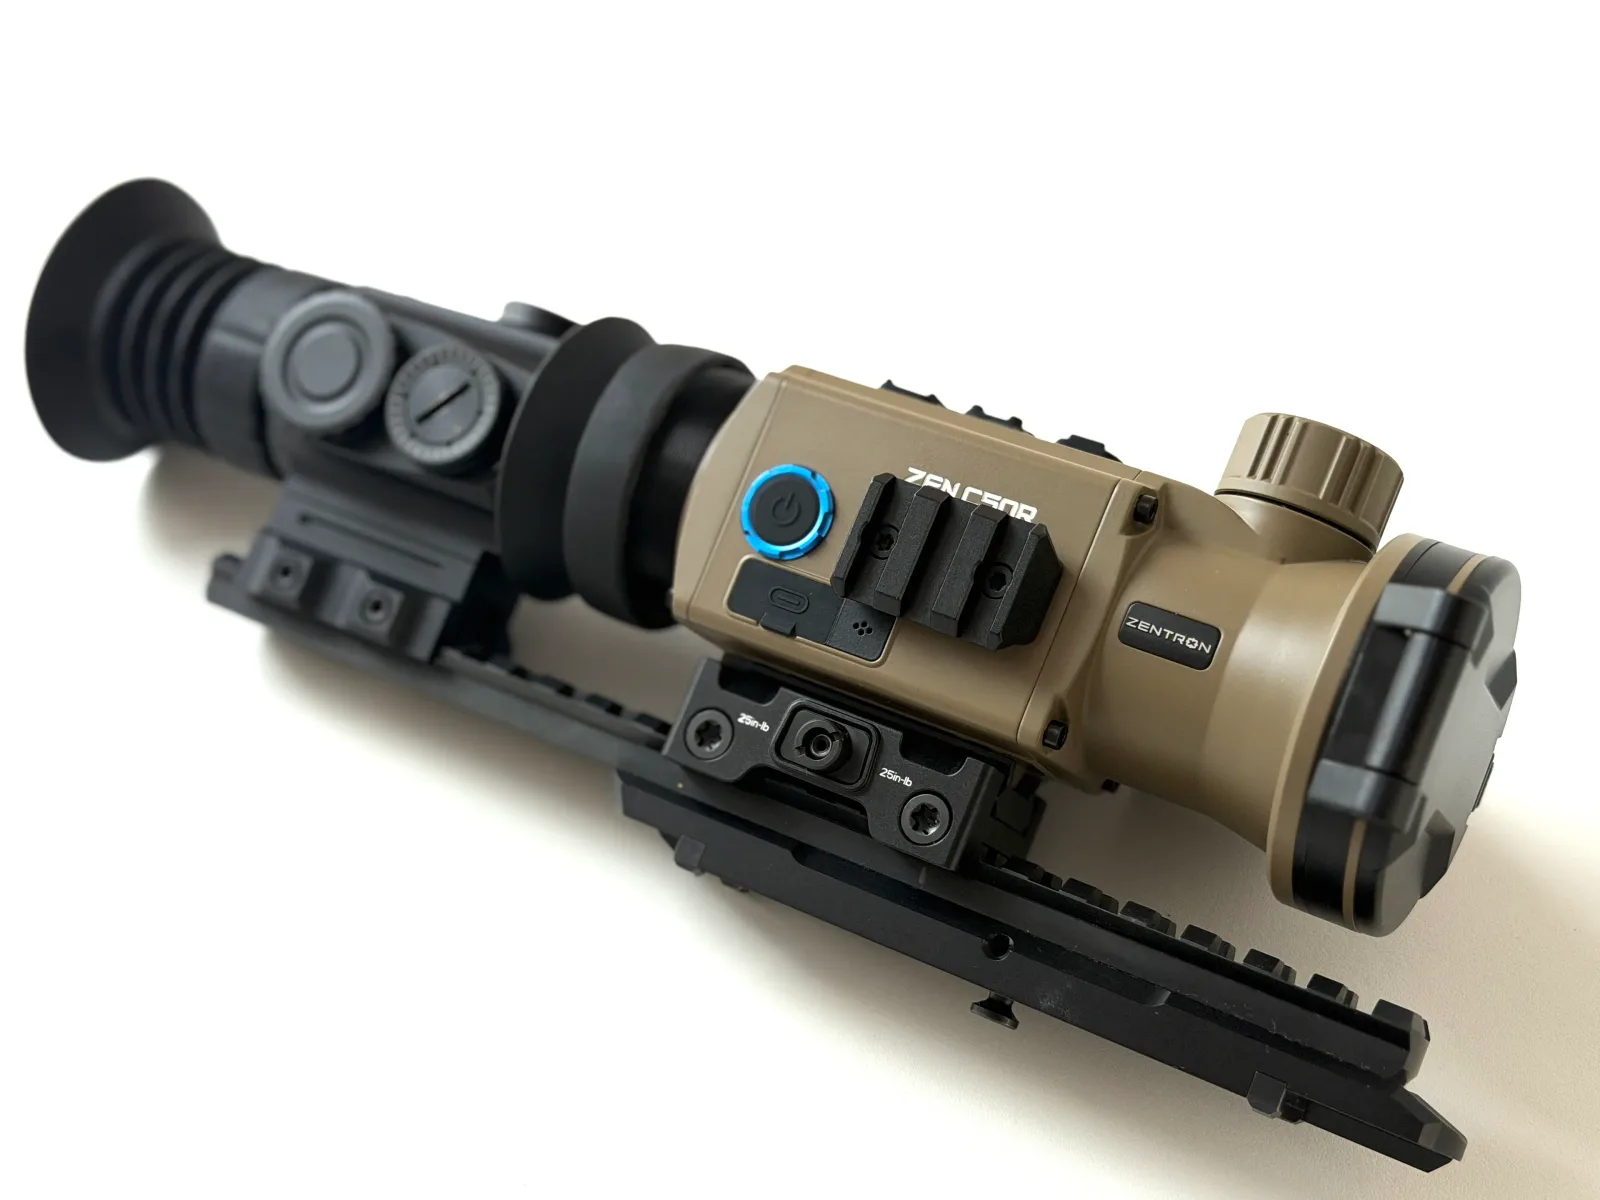
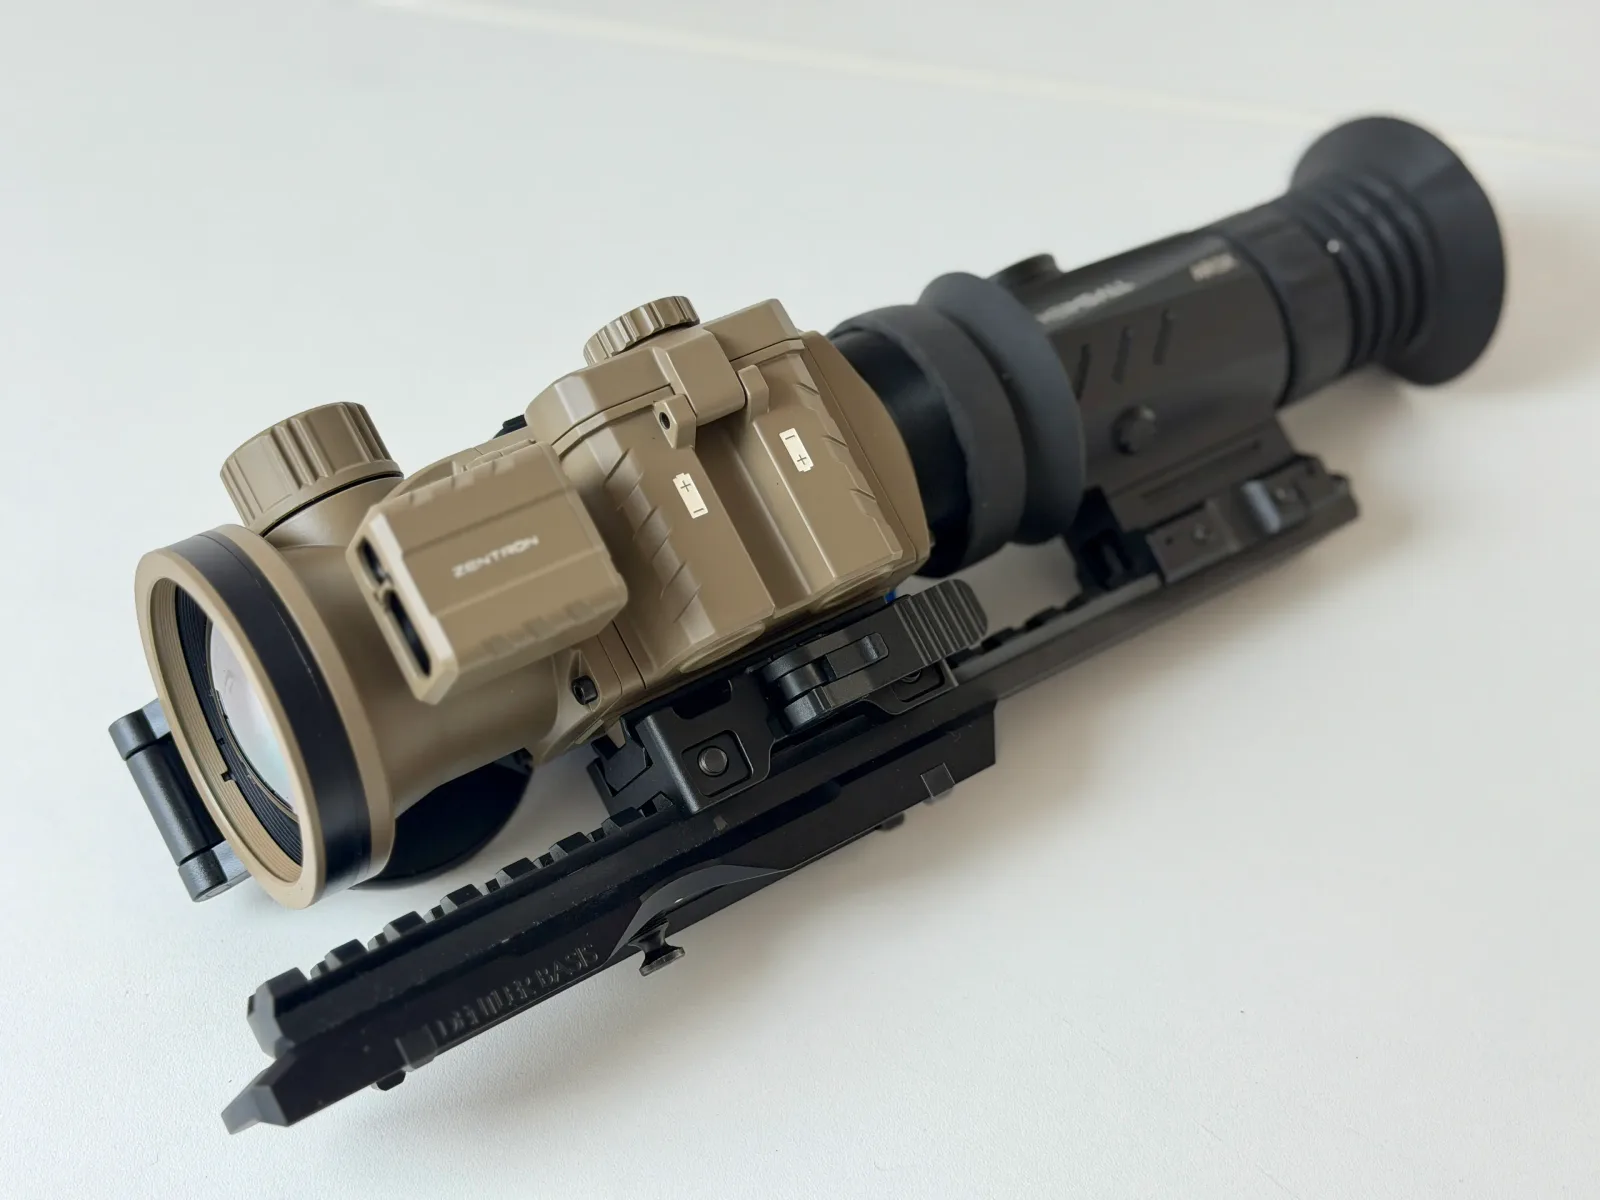
The underside of the C50R also lets you attach a Picatinny rail or other compatible mount. This means you can mount the thermal imaging attachment directly onto a Picatinny rail. I use this option with my Dentler Picatinny rail. The practical advantage is that the setup stays compact and direct.
For me, this mounting style is ideal because it keeps the setup compact and lightweight. Of course, those who prefer to mount the thermal imaging attachment using a standard adapter from EP Arms, Präzise Jagen, Rusan, Smartclip, etc., can do so as well. The only important thing is to ensure the adapter has the correct M45x0.75 thread.
Firing in
The zeroing process, as with most clip-on devices, is relatively straightforward. There was no difference between the menu navigation and the actual zeroing procedure compared to my C50 without the "R". Specifically, I first fired a test shot with the daylight optic (Heimdall AR3X). Once the shot was on target, I attached a thermal imaging sight pad to the target and then zeroed the C50R. The C50R's preset settings were already very good. I only had to adjust the elevation by two clicks, which made setup quick and uncomplicated.
A few more words about the other settings and functions. I won't go into every single menu item, but will limit myself to what I consider the most important functions:
You can adjust the screen in the "Zoom-In" submenu using X and Y values. Ten weapon profiles (G1 to G10) are available. The freeze function in the zeroing menu is also still present. I don't know who uses it, but I still don't see any real added value in it for a clip-on device. I find the tried-and-tested recoil-activated video recording much more useful. It automatically records ten seconds before and after the shot, which is a real practical advantage. Because when you've finally stalked close enough to the wild boar on a rainy night, the last thing on your mind is to start the video recording beforehand manually. With recoil-activated recording, that's done automatically. Perfect! The option to overlay a crosshair on the recorded videos is also practical. You can select the color individually in the menu, just like with the C50.
Image quality
The C50's image quality impressed me over a year ago, and that hasn't changed with the C50R. That is not surprising, since both devices use the same sensor and software. So if you think the C50 without the "R" delivers a worse image, you can rest assured: there is no difference. Even in adverse weather conditions like rain or fog, both devices still produce very good images. For the comparison, I again used my two HIKMICRO cameras, both equipped with 640 sensors. The main point is simple: the C50R adds functions, not image quality.
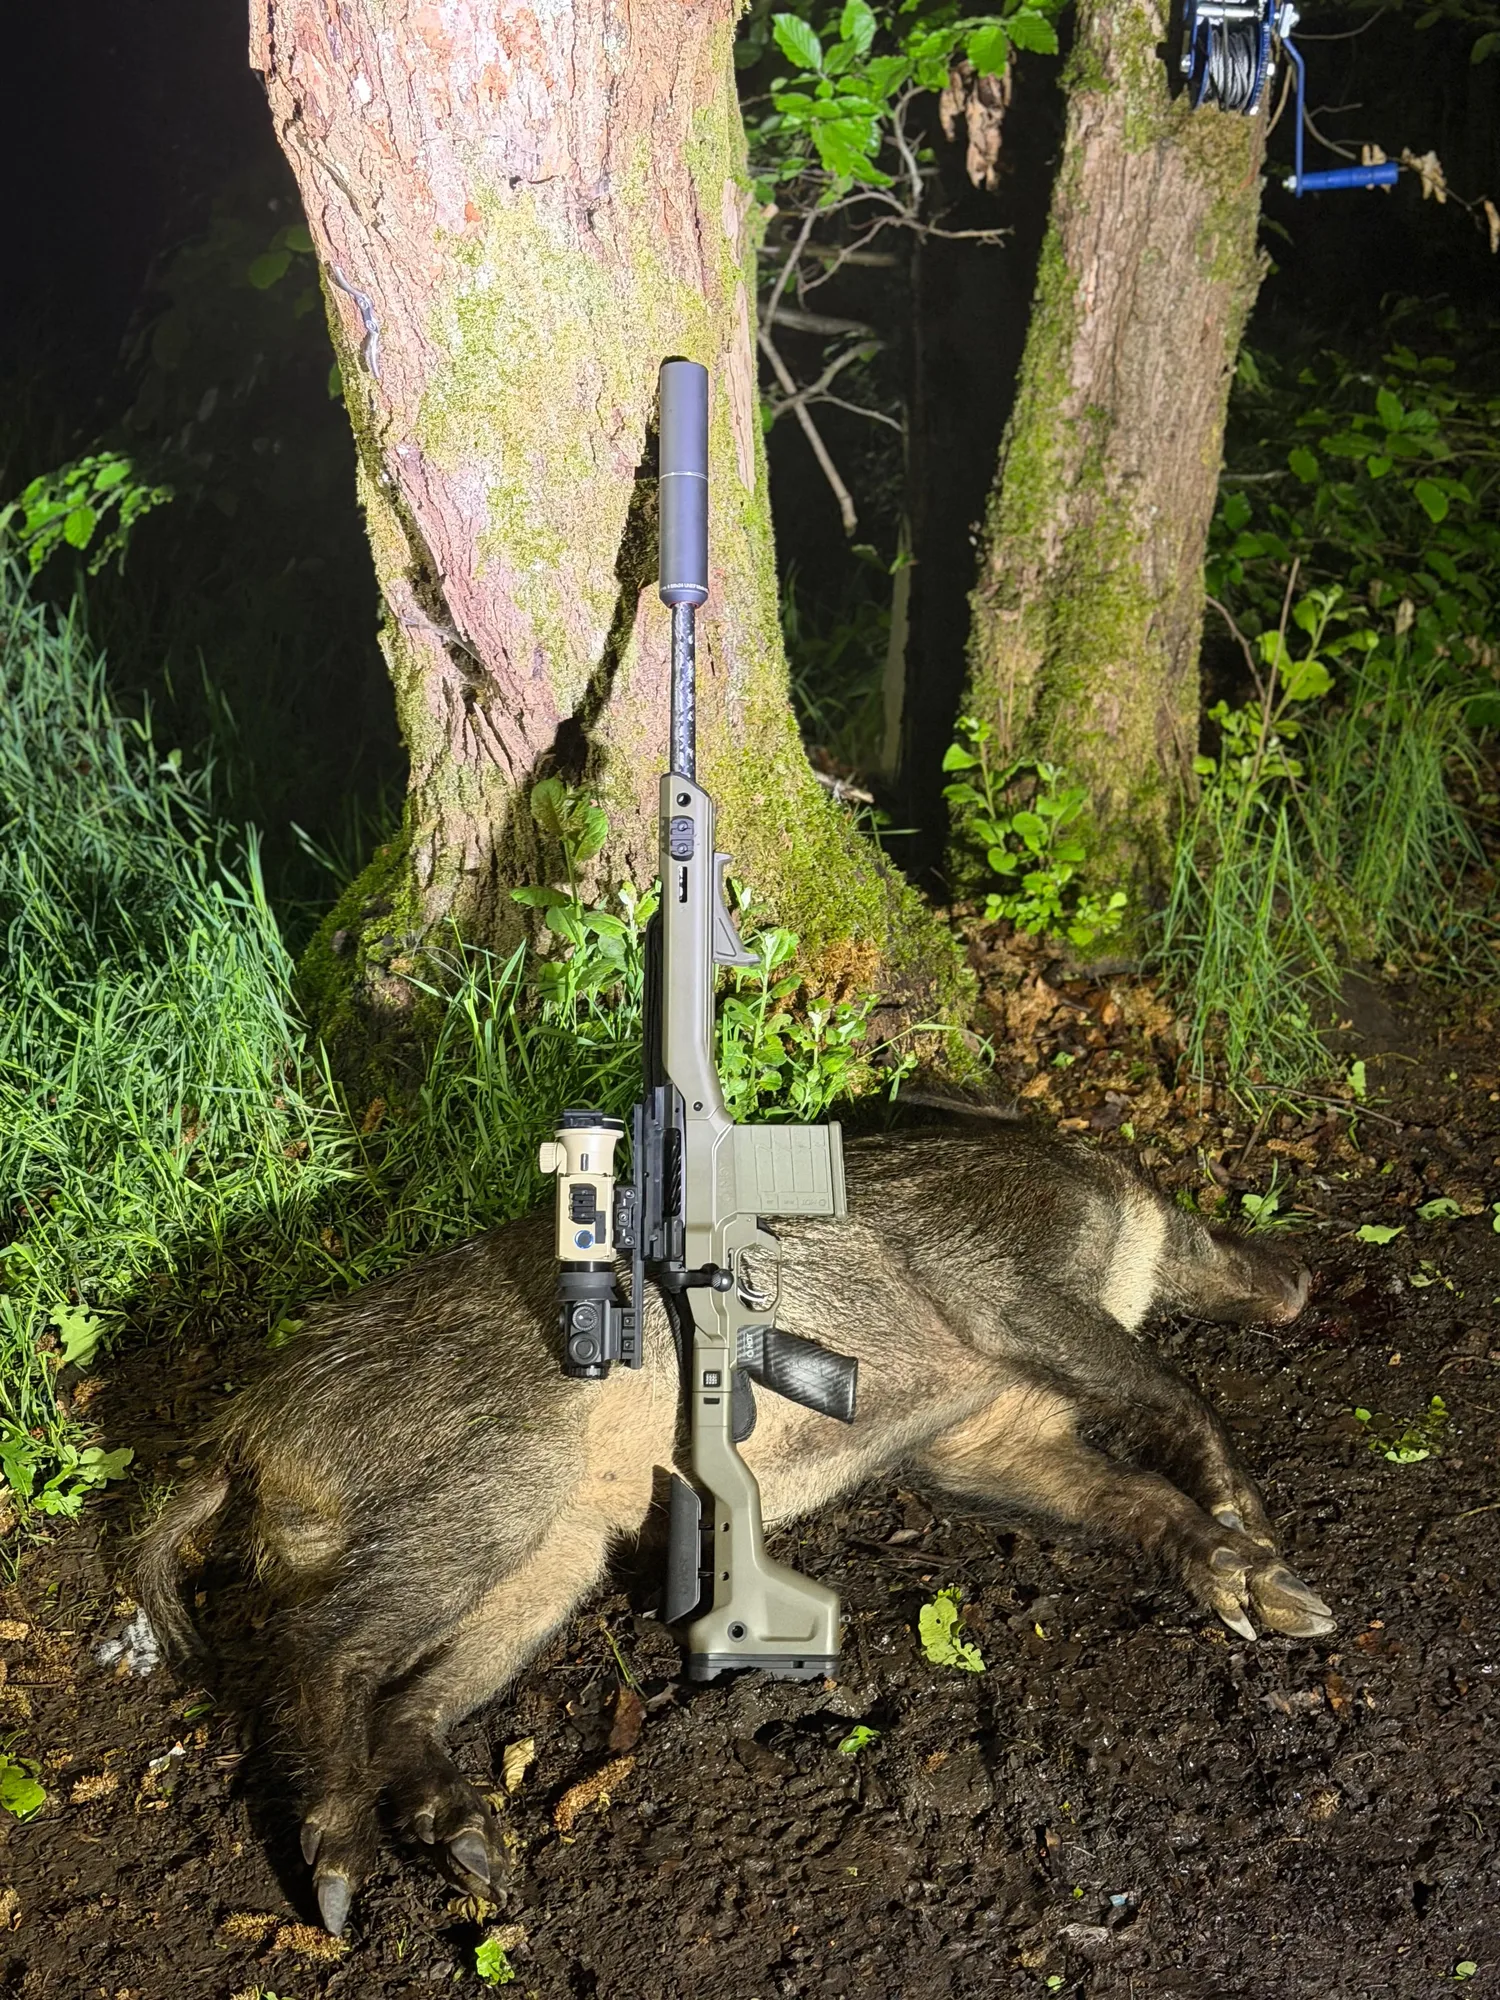
To illustrate, here are two photos of wild boar at close range from my own hunting grounds.
The C50R also offers a wide selection of color palettes. Ten different color modes are available, including the classics White Hot and Black Hot, as well as the growing Cold Green and Red Mono. Users who only use two or three color modes can save them as favorites in the menu. The quick-select button then allows you to cycle through only the selected color palettes. This saves you the hassle of clicking through all ten modes, which is a clear practical advantage.
Zentron's clip-on devices now also feature a picture-in-picture (PiP) mode, which wasn't available when I tested the C50. Even with thermal imaging devices, I find this function takes some getting used to and can even be tiring. On a clip-on device, I honestly find it annoying. Perhaps such a mode might be useful on a standalone thermal imaging sight, but I do not see any real benefit on the clip-on device. The takeaway for me is that I would not miss it. I tried the function several times, but I just couldn't get used to it. Maybe it will disappear again with one of the next firmware updates. In any case, I wouldn't miss it.
What I absolutely wouldn't want to do without on the C50R is the ability to view photos and videos directly on the device. While my C50 (without the "R") already offered this feature, it's still incredibly useful. Especially when I'm out in the field, I like to review a recording to better assess a situation I've observed. Frankly, taking my smartphone out of my pocket and connecting it to the front-facing camera would be far too cumbersome. This feature saves time and effort in practice.
Anyone who still wants to view or save their recordings on their smartphone can connect the C50R to the ZEN LINK app via Wi-Fi. This worked quickly and flawlessly during my test. Among other things, the app allows you to view the device's live image on your smartphone, transfer photos and videos, and install firmware updates. For me, that is exactly what an app like this should do.
Laser distance measurement
As previously described, the C50R's new feature is its laser rangefinder capability. I know opinions differ on whether this function is truly necessary in a clip-on device. After all, I can also measure the distance before shooting with my thermal imaging device, provided it has a laser rangefinder. That's certainly true. In my opinion, this might work well from a hunting stand, and even more so at a baiting site. However, if, like me, you're passionate about stalking through forests and across meadows, you'll inevitably encounter situations where you're already approaching the wild boar with your rifle shouldered. And in those situations, it's a real relief not to have to reach for the handheld device again to measure the distance.
Furthermore, many thermal imaging clip-on devices with laser rangefinders now also feature an integrated ballistic calculator, including the C50R. I already highlighted this feature positively in my review of the handheld M6 Pro. Once the relevant ammunition and ballistic data are entered (in my case, the data for my hand-loaded ammunition), the C50R displays the calculated bullet deviation in MOA and centimeters immediately after measuring the distance. Additionally, a thin guide line is briefly displayed, indicating the calculated aiming point. This is explicitly not an additional crosshair. You can see this clearly in the previously embedded video of the boar in the woods.
To be honest, I didn't expect the laser rangefinder in the clip-on device to impress me so much. It's incredibly helpful to see the actual distance and the calculated bullet deviation displayed again immediately before firing. And to anyone who argues that such technical aids are no longer ethical hunting methods and that the game loses its chance: For me, ethical hunting means above all making a clean shot and avoiding unnecessary suffering. If technology helps me achieve this by letting me quickly check the distance with the push of a button, then I'm very close to my goal of ethical hunting.
Connection control via app function
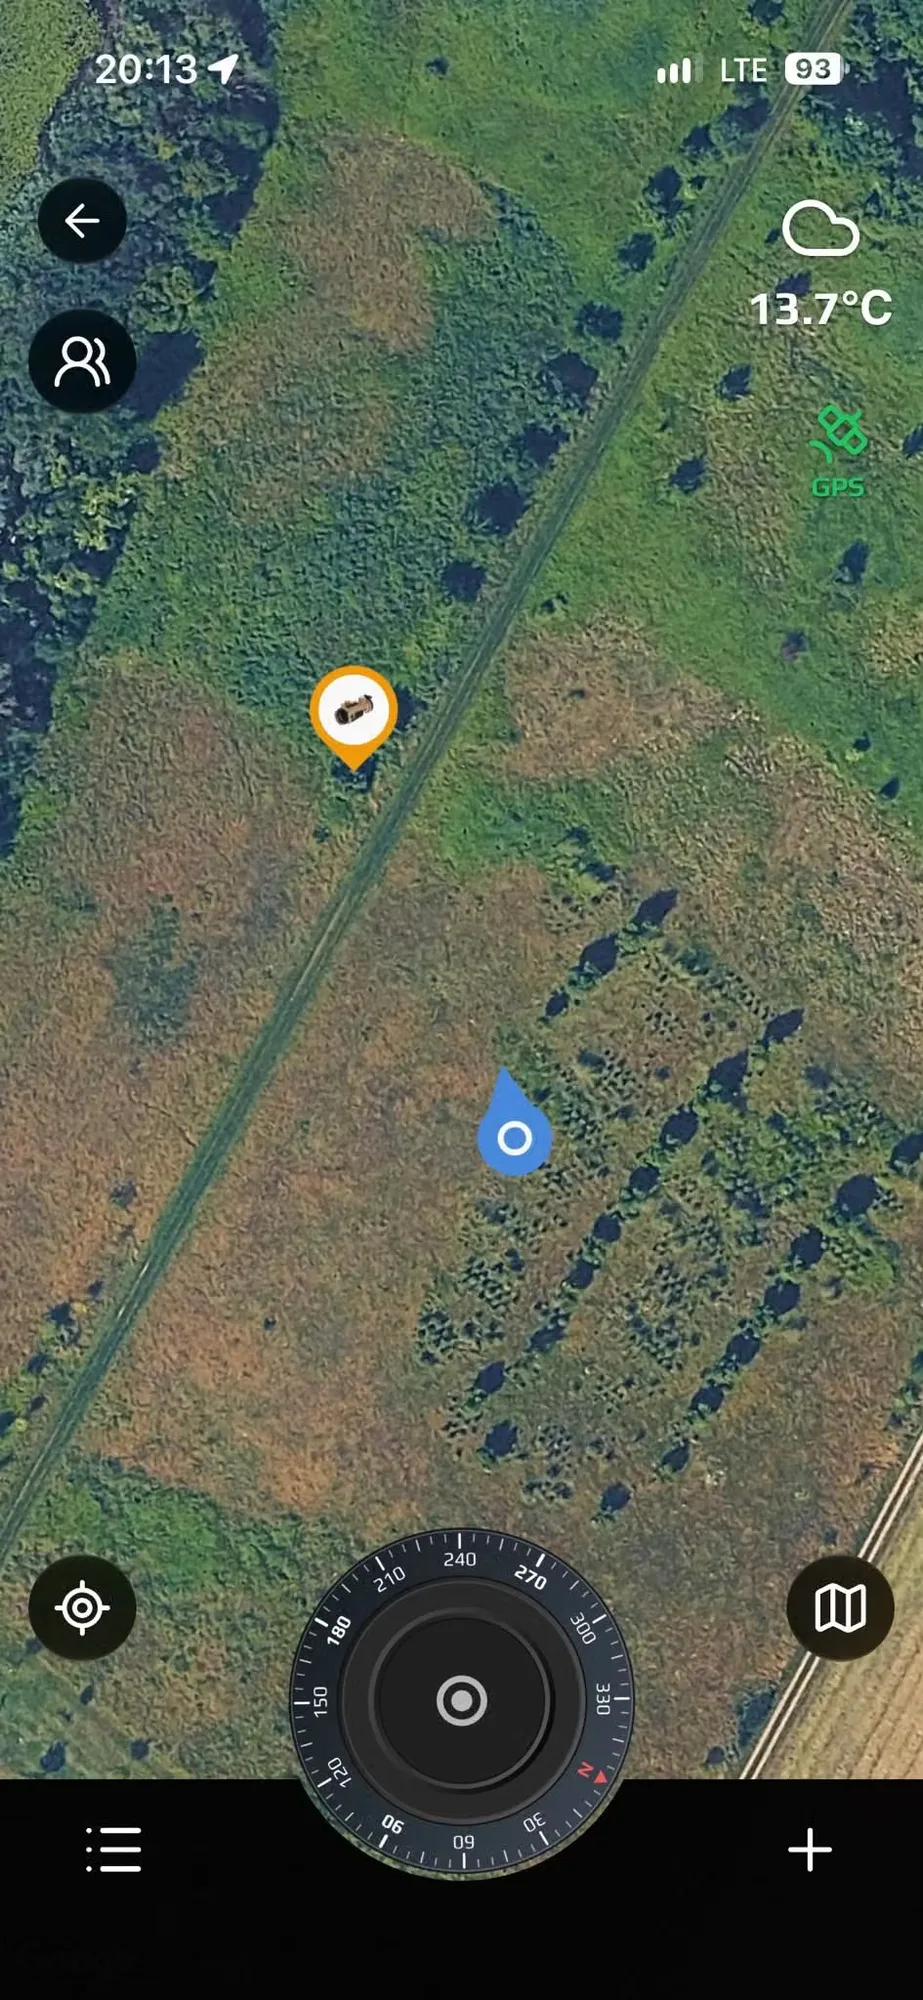
The ZEN LINK app includes a feature called “Zentrace”. However, I had barely paid attention to it until shortly before the end of my test. I only became interested when I recently read on Nocpix's website that the devices with laser rangefinders, now being presented at the end of 2026, will feature a new shot-marking function. Especially in open fields, it's sometimes not easy to find the exact point of impact again.
So I did a little Googling and lo and behold: Zentron also offers this exact function with "Zentrace" (and has for quite some time). The function had been lying dormant in the app all this time without me even noticing. Ouch! Afterward, I even found photos on my smartphone from the Jagd & Hund trade fair in January 2026, where Zentron prominently advertised this very function with a large flyer. Ouch again! Perhaps I should get into the habit of reading the quick start guide or even the entire manual more often, instead of always fiddling with the devices directly. Apparently, you miss quite a few features that way.
Regarding its function: "Zentrace" automatically marks the point of impact. The distance is measured in the background when you fire the shot. Together with the C50R's integrated compass and the smartphone's GPS data, the app determines and marks the point of impact. Does it work? Yes! Only the initial setup, including activating the function and calibrating the compass, was a bit fiddly. Of course, you also need to have your smartphone with you for the GPS data to be available. Overall, however, it's a truly practical function that can be a great help, especially when searching for the point of impact, and it also facilitates any potential tracking.
Conclusion
The Zentron ZEN C50R impressed me in the test. In terms of build quality and image quality, there are practically no differences compared to my C50 (non-R). Both were already at a very high level with the C50, and that hasn't changed with the C50R. For me, the real added value is the integrated laser rangefinder. I wouldn't want to be without this feature, especially when stalking game. Combined with shot verification via the ZEN LINK app ("Zentrace"), the C50R also offers a function I initially underestimated.
Are there any criticisms? A few, yes. Other manufacturers now offer devices with shutterless operation or a practical toggle switch for off, standby, and on. Zentron could certainly improve in this area with a potential next generation. However, considering the price, especially compared to some competing products, I can easily overlook this.
All in all, the C50R is a very good thermal imaging clip-on device that stands out from its smaller sibling mainly because of its laser rangefinder and associated functions. Whether the extra cost compared to the C50 without the "R" is worthwhile is, of course, a matter of personal preference.