

 EN
EN DE
DE
 3.png)
01
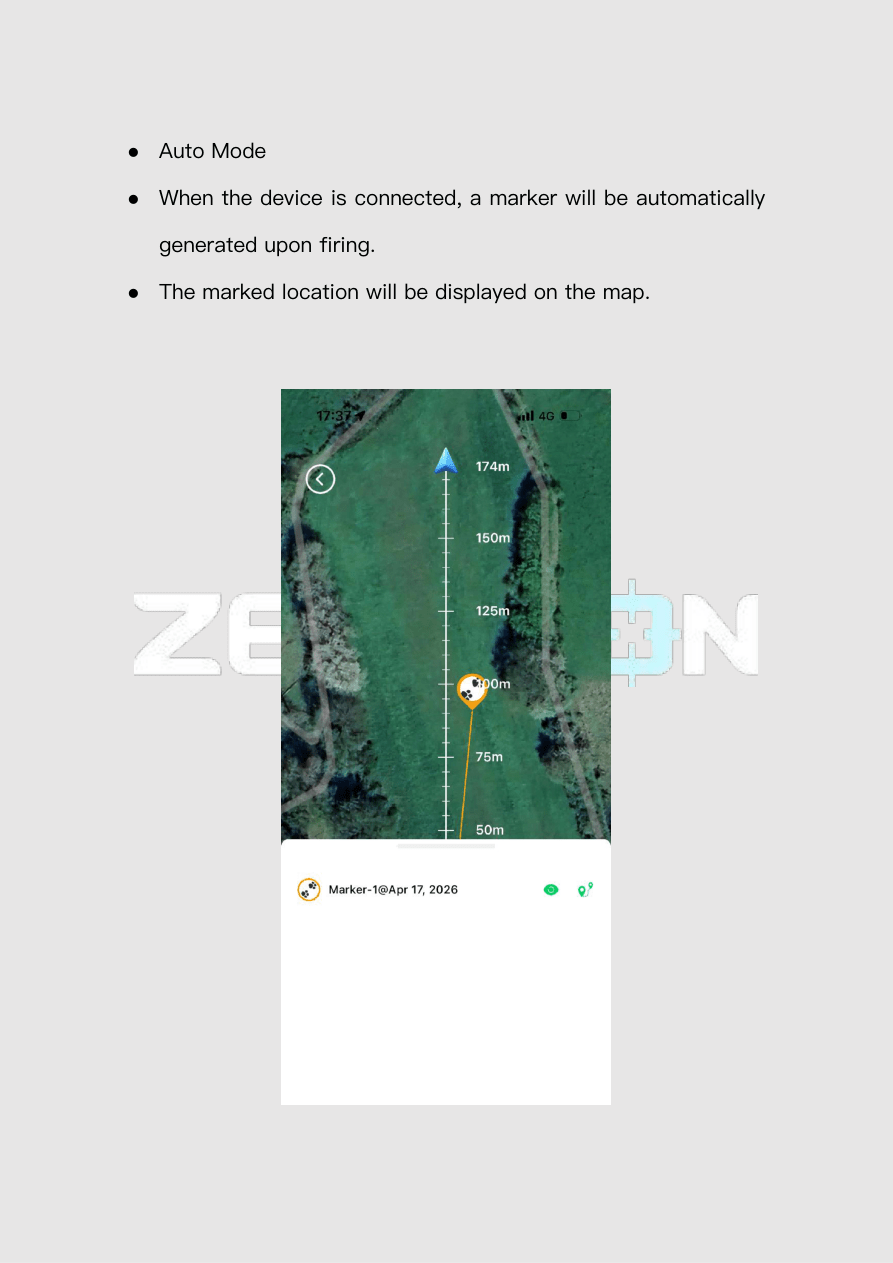
Automatic Marker
Create a calculated marker after firing on a compatible connected device.



PRODUCTS
Thermal Vision
Thermal Clip-on Thermal ScopeMulti-function Thermal Imaging DeviceThermal MonocularAccessories
SUPPORT
Customer ServiceZenTraceDOWNLOADVideosFAQZENTRACE
ZenTrace combines compatible device range and direction data with phone GPS to create a calculated target marker on the map.
CORE CAPABILITIES
Create a calculated marker after firing on a compatible connected device.
Place a target marker directly from the map whenever needed.
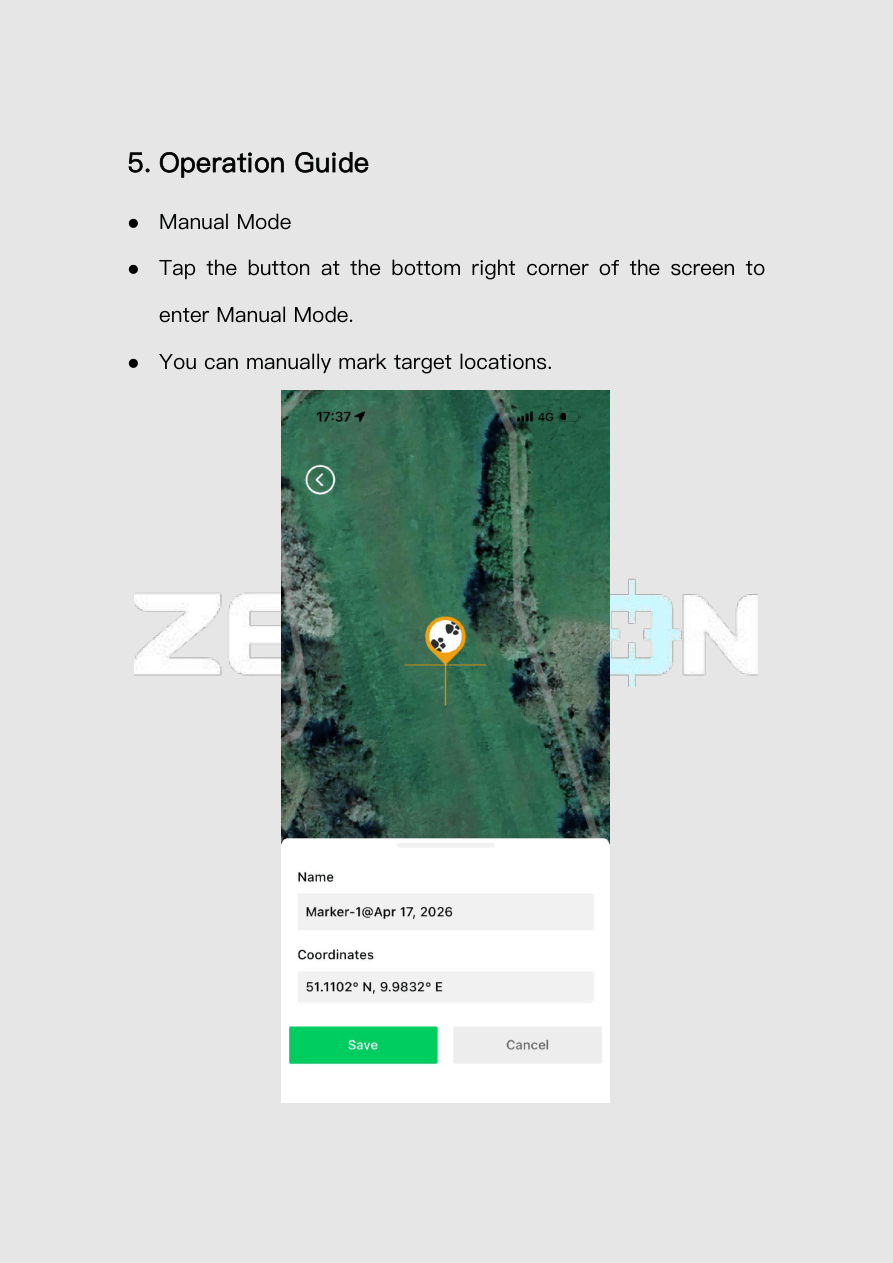
Name the point, review coordinates, choose a style and add notes.
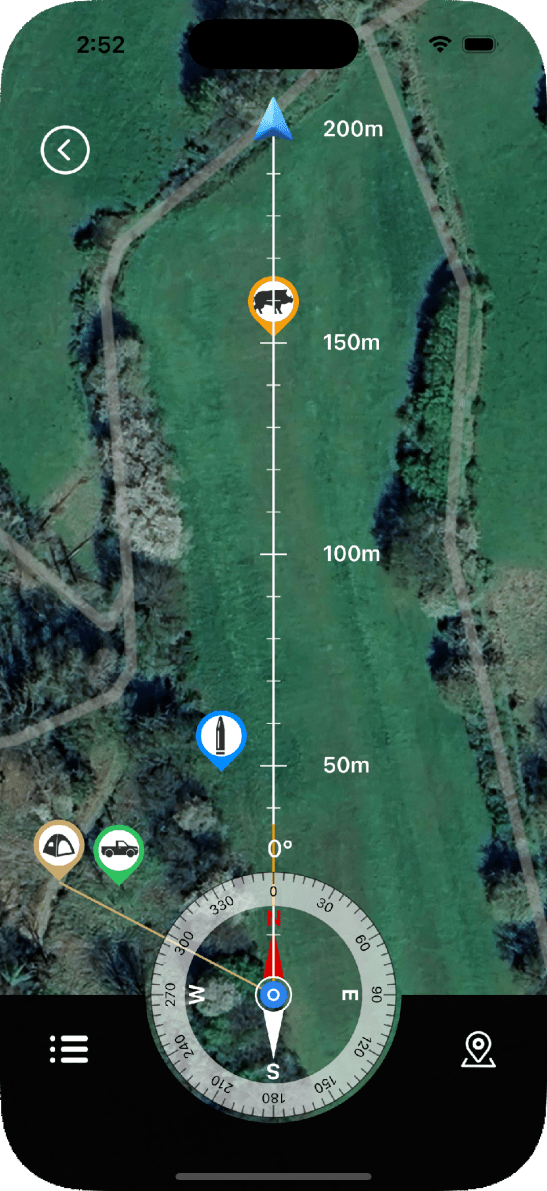
Use distance, direction and compass guidance to review the saved point.
HOW ZENTRACE WORKS
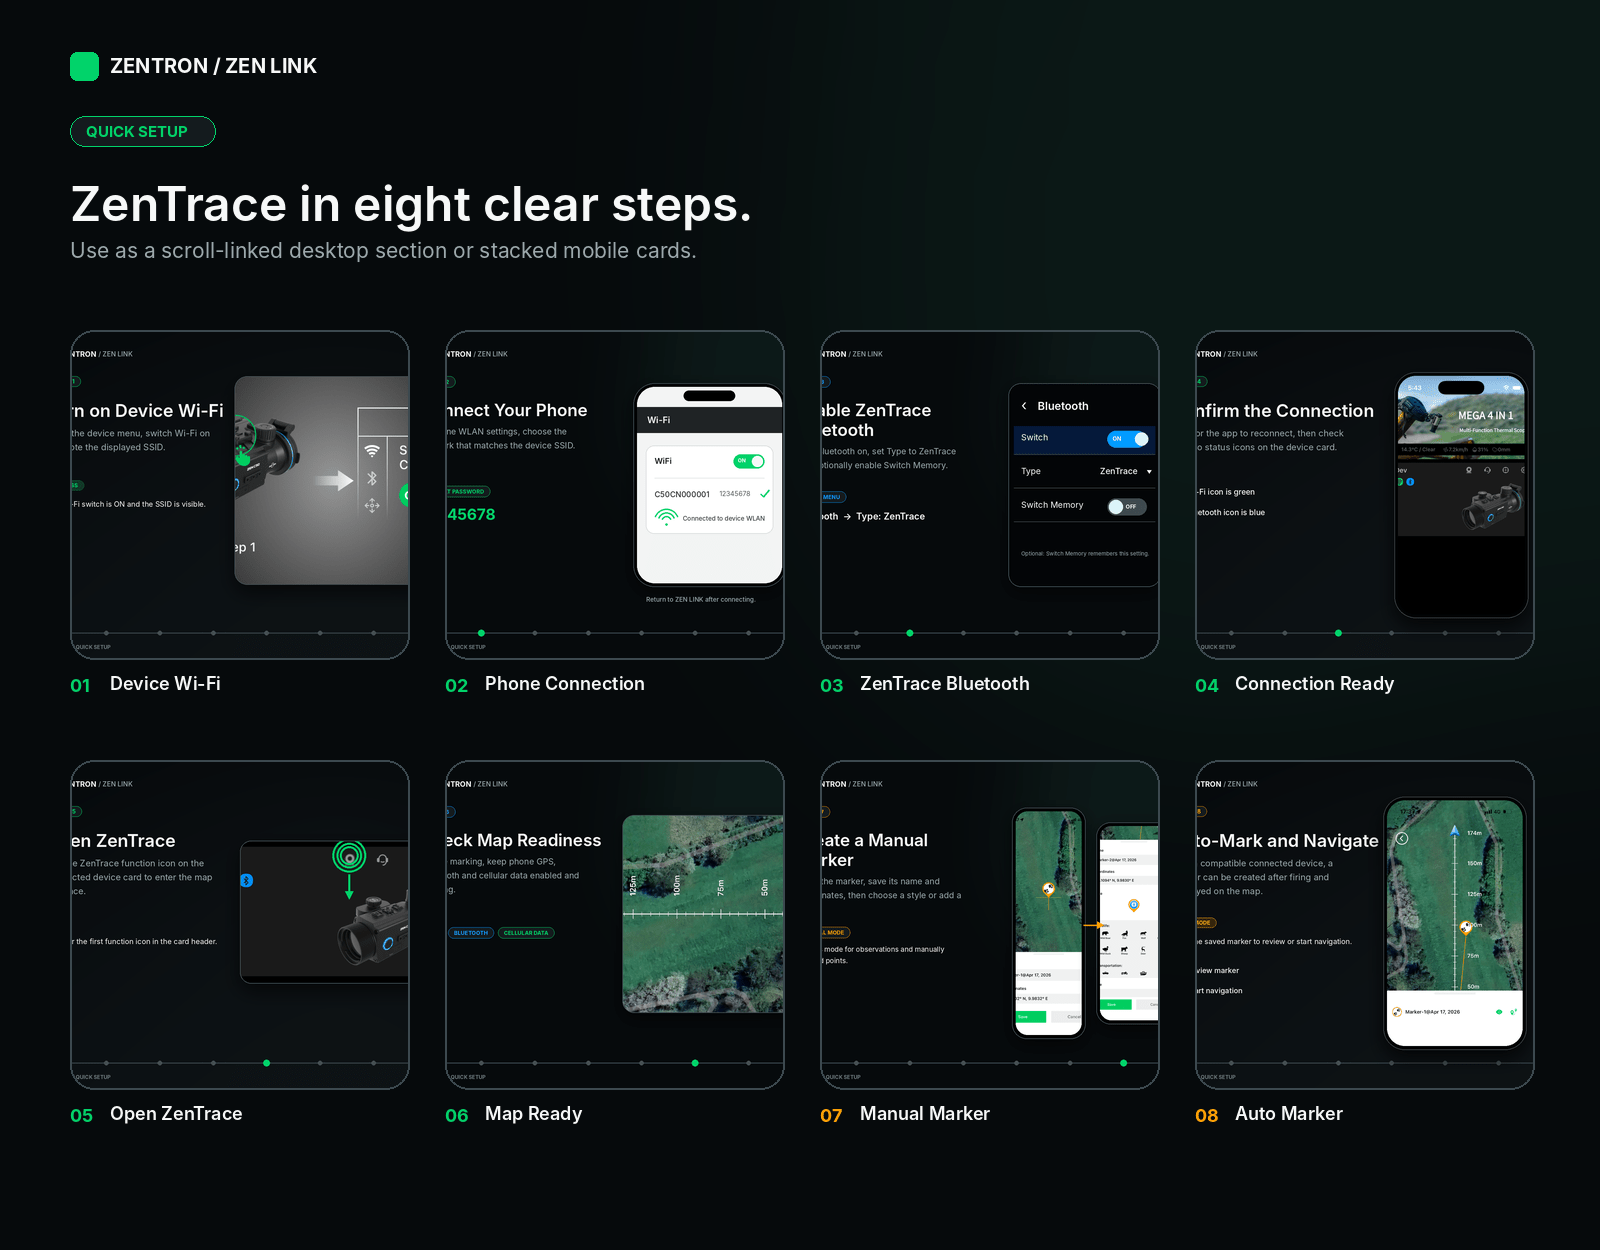
A simple five-step flow built around the connected device, ZEN LINK and phone GPS.
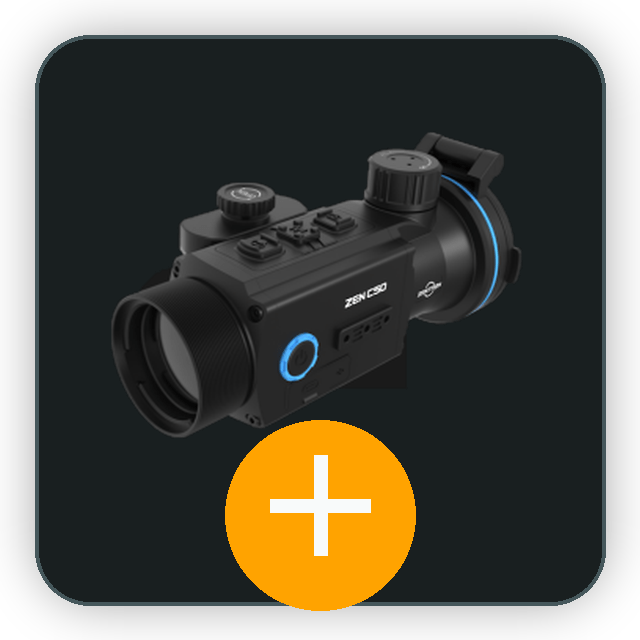
Use the connected device laser rangefinder to take a distance reading on your target.
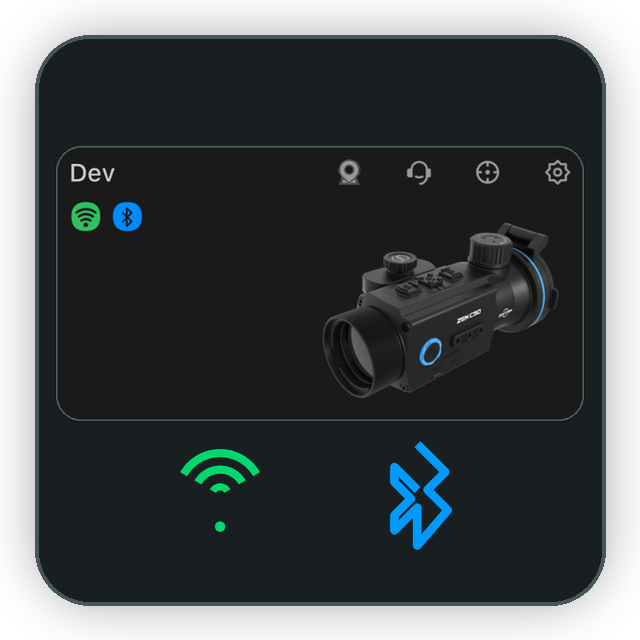
Pair the optic with your phone in ZENLINK over Wi‑Fi, then enable Bluetooth and ZenTrace mode.
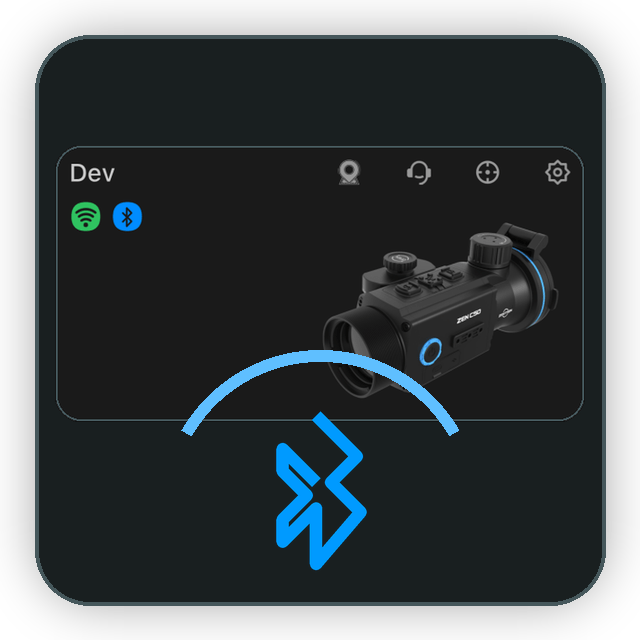
The measured distance and device azimuth transfer into the app together with the phone GPS position.
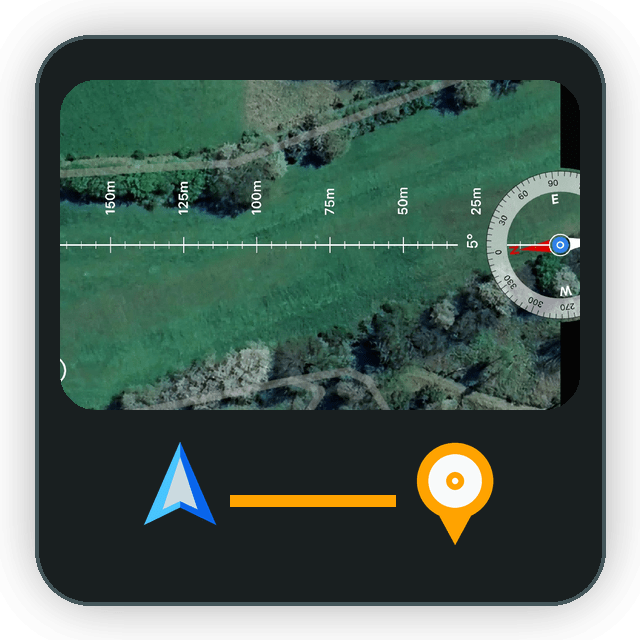
ZenTrace combines range, azimuth and phone GPS to calculate the target coordinate and place a marker on the map.
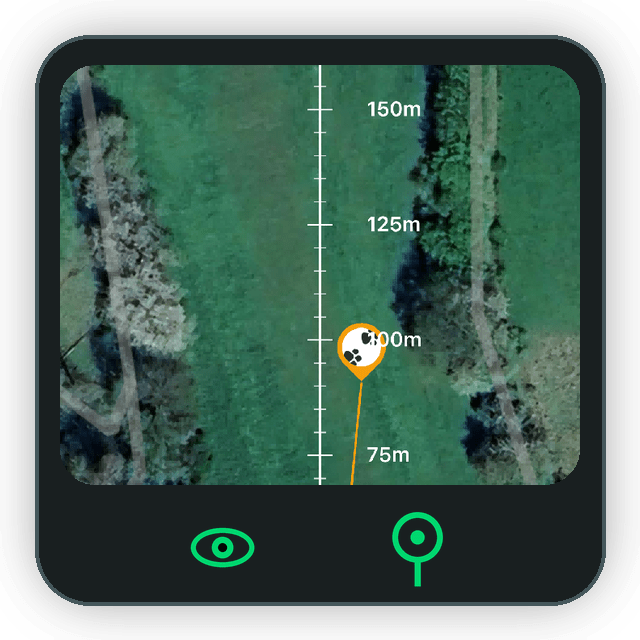
Open the map, select the saved target marker and use in-app guidance to navigate back toward the recorded point.
SHOWCASE VIDEO
This vertical showcase demonstrates pairing, measurement, marker creation, and map retrieval inside the ZenTrace workflow.
Recorded from the ZenTrace workflow in the ZENLINK mobile app.
Content summary (EN)
This video provides a silent-equivalent walkthrough of the ZenTrace workflow shown on the phone screen.
PREREQUISITES
NEXT STEP
Open the download center, review the PDF quick guide, and install ZENLINK to prepare your field workflow.
